Welcome, Guest. Please login or register.
May 09, 2024, 07:21:14 PM

Login with username, password and session length

Recent Topics

[Today at 07:16:17 PM]

[Today at 07:04:45 PM]

[Today at 01:04:03 PM]

[Today at 10:15:40 AM]

[Today at 08:43:48 AM]

[Today at 08:12:28 AM]

[Today at 07:35:53 AM]

[Today at 06:46:52 AM]

[May 08, 2024, 09:32:40 PM]

[May 08, 2024, 04:58:49 PM]

[May 08, 2024, 12:29:15 PM]

[May 07, 2024, 06:30:10 PM]

[May 07, 2024, 05:11:37 PM]

[May 07, 2024, 02:59:57 PM]

Support NCKA

Support the site by making a donation.

Show Posts

This section allows you to view all posts made by this member. Note that you can only see posts made in areas you currently have access to.


Topics - Ski Pro 3 -- Jerry

Pages: 1 ... 4 5 [6]
76
Gearing Up and Rigging Up / Hobie Pro Angler Camo Cover
« on: March 02, 2012, 10:29:28 PM »
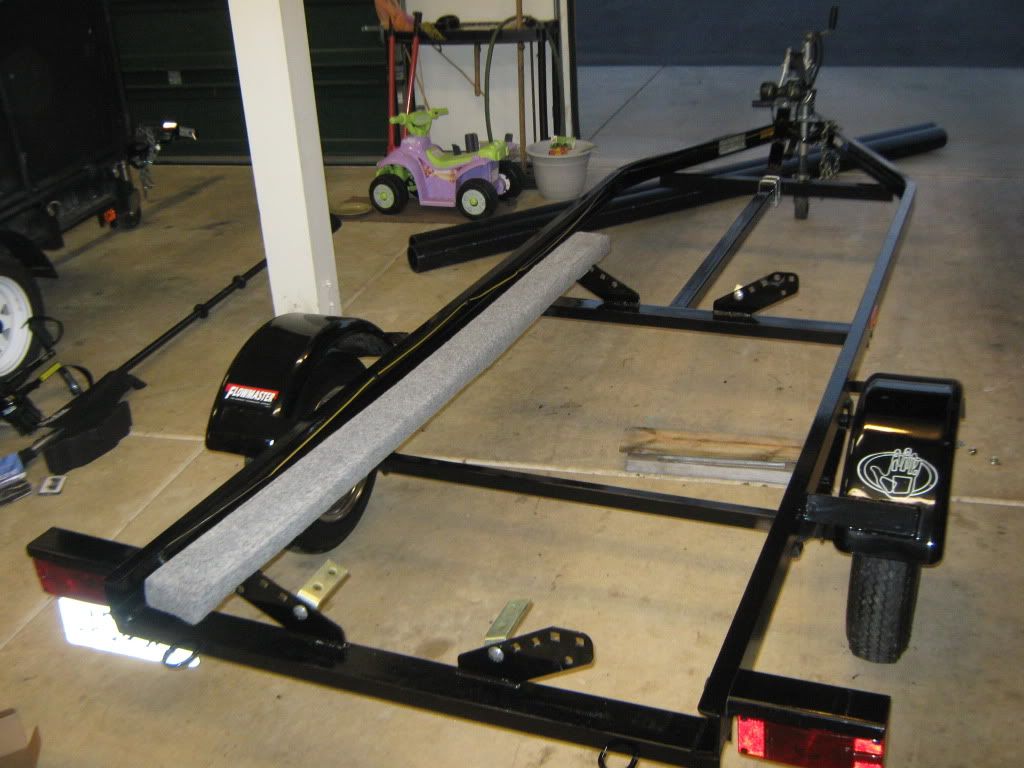
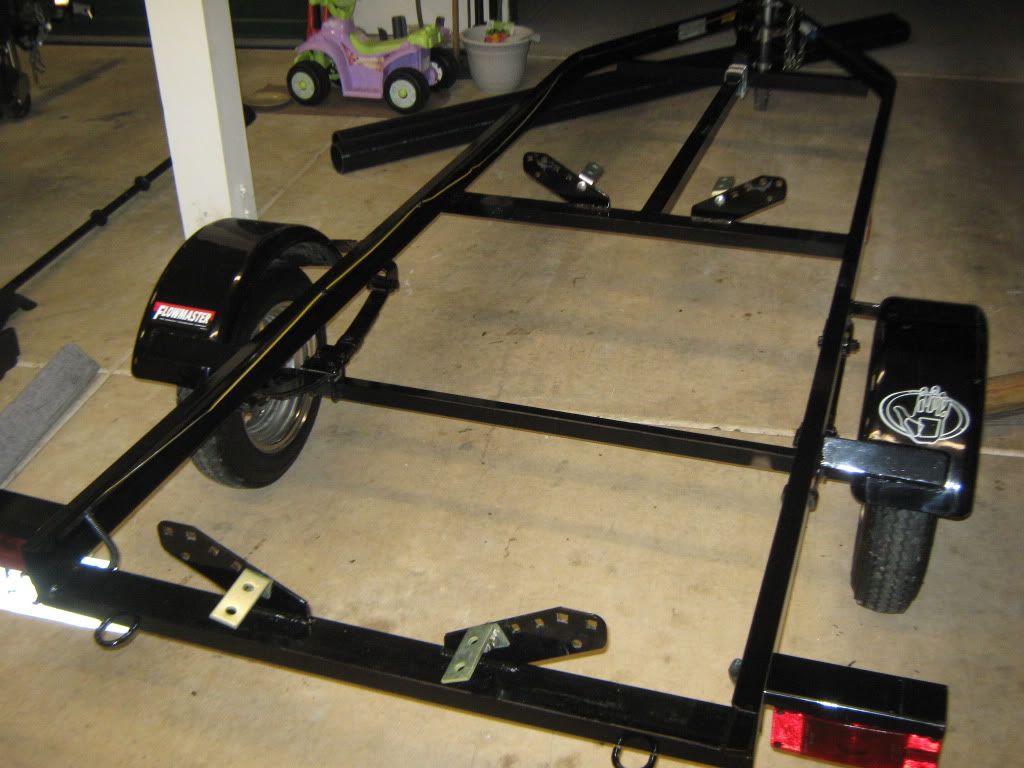
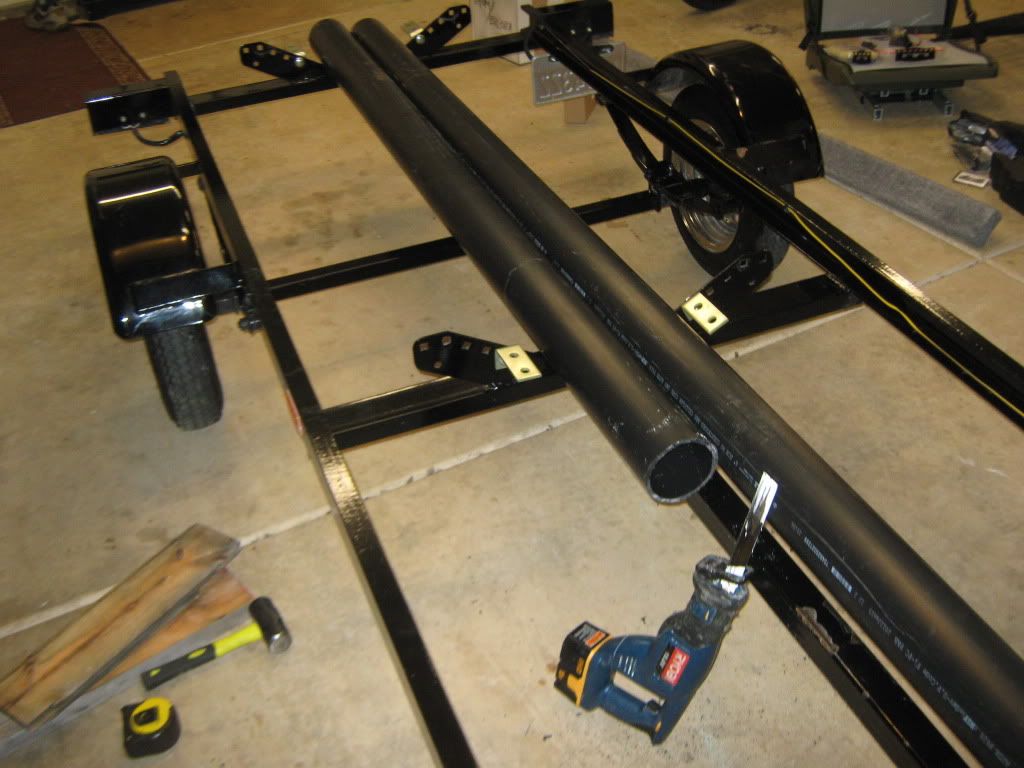
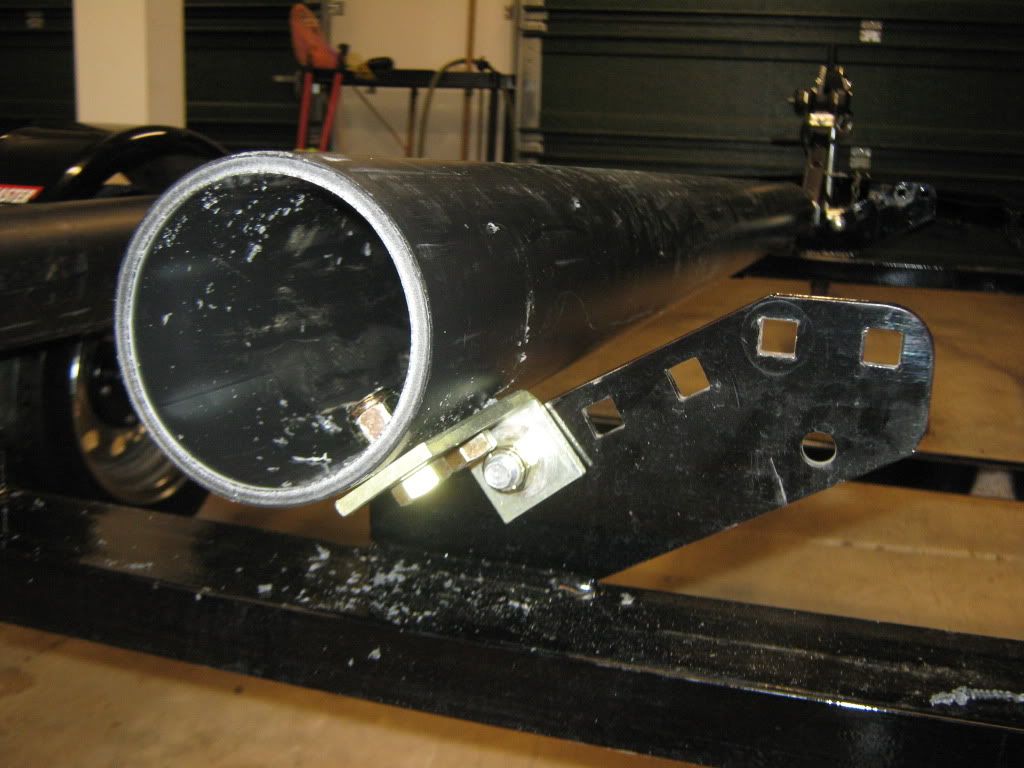
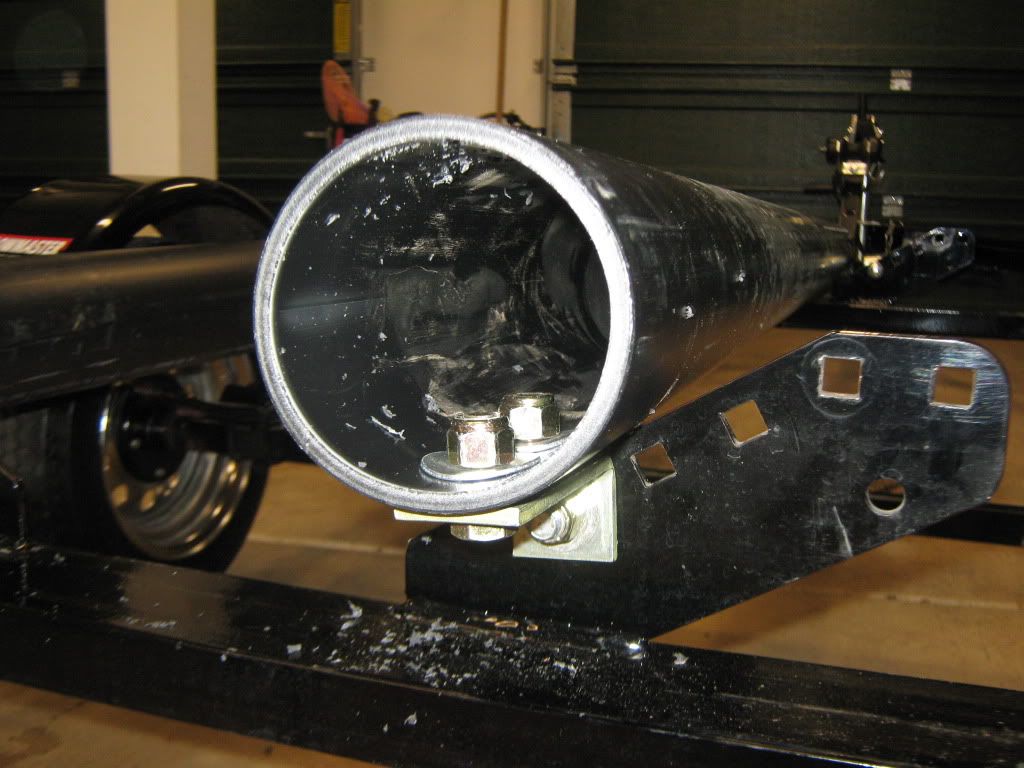
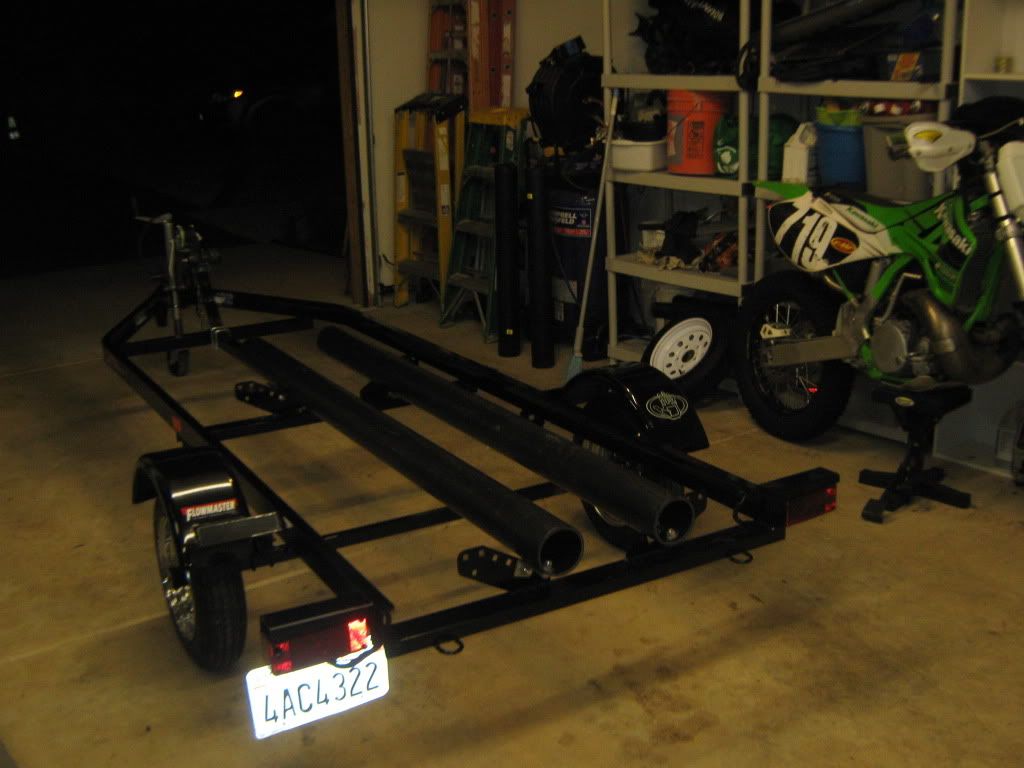
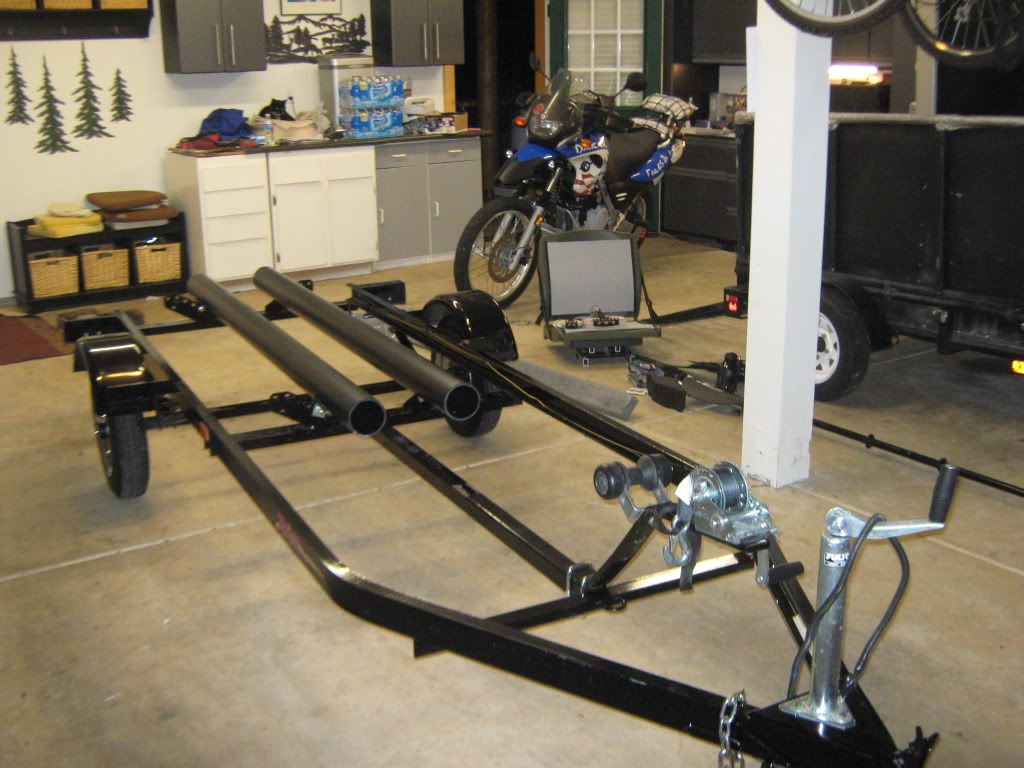
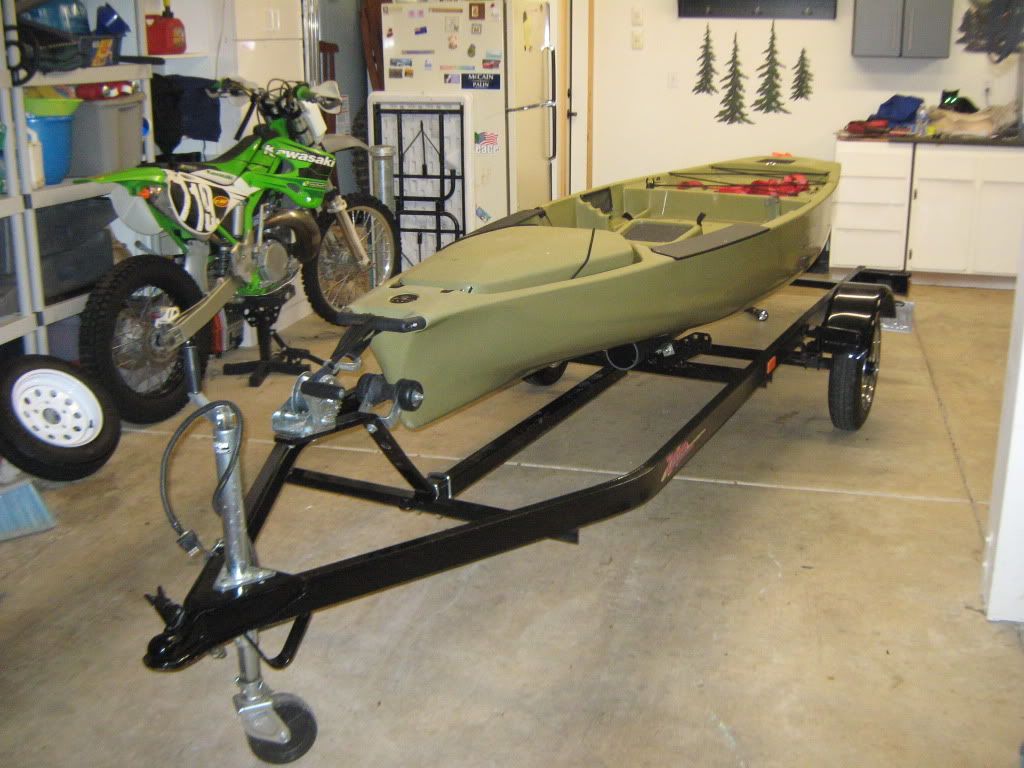
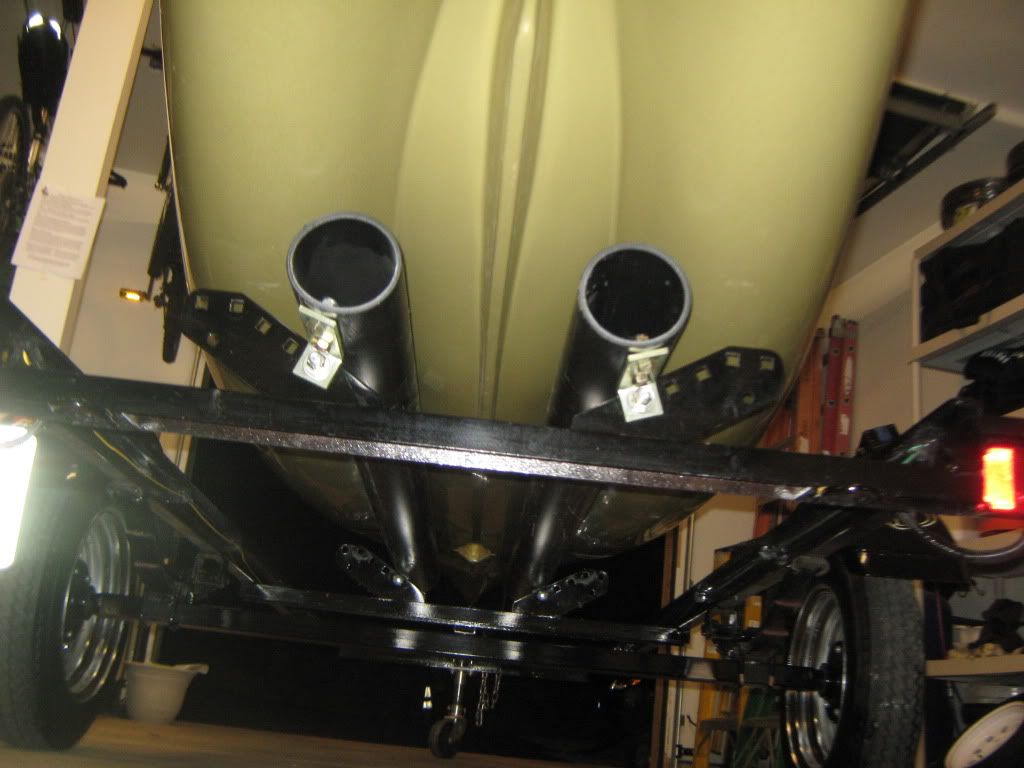
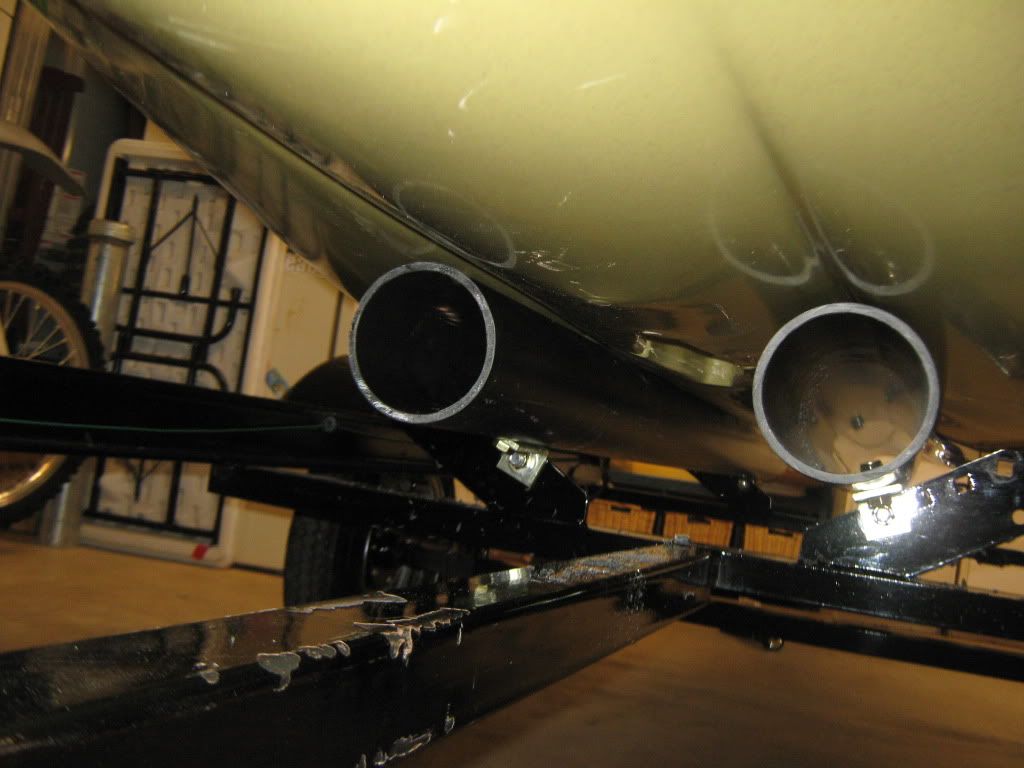
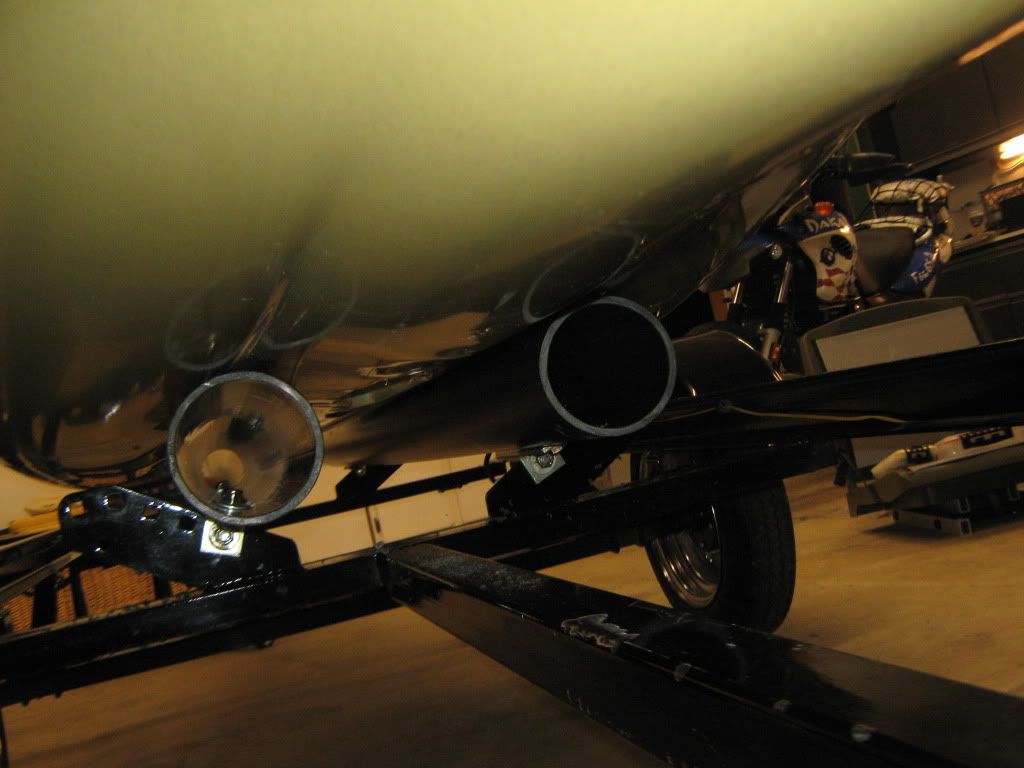
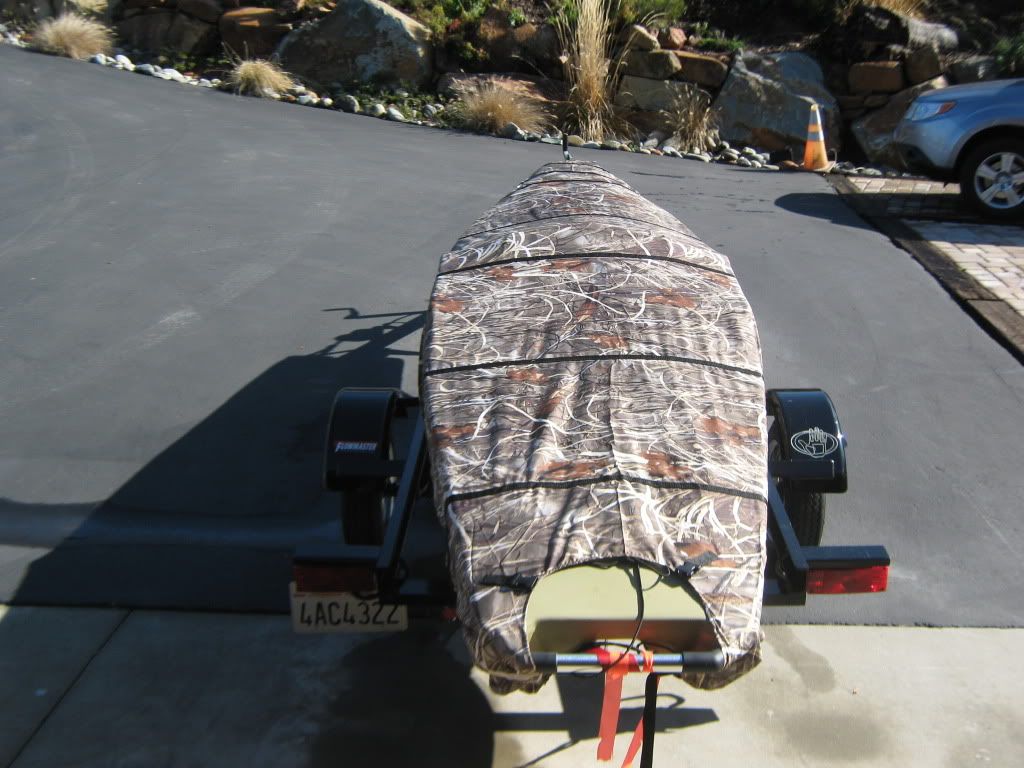
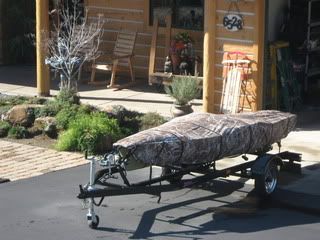
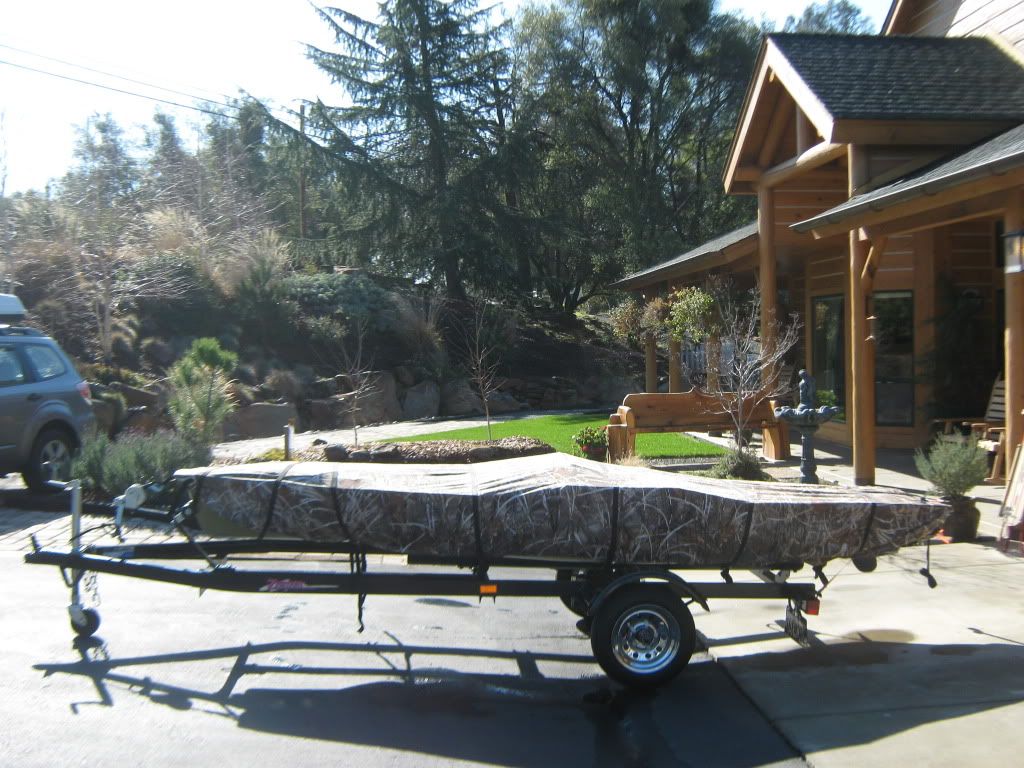
My PA is going to be stored on it's trailer I built last week (see an earlier thread I posted if you are interested in a PA trailer) and I needed to cover it to keep the weather and my cats off it.  I'm not talented enough to really make my own, but I am pretty good at noticing when something can be made to work and saves me a little money.  I saw this cover for a jon boat on Cabela's.  Here's a photo and a link;


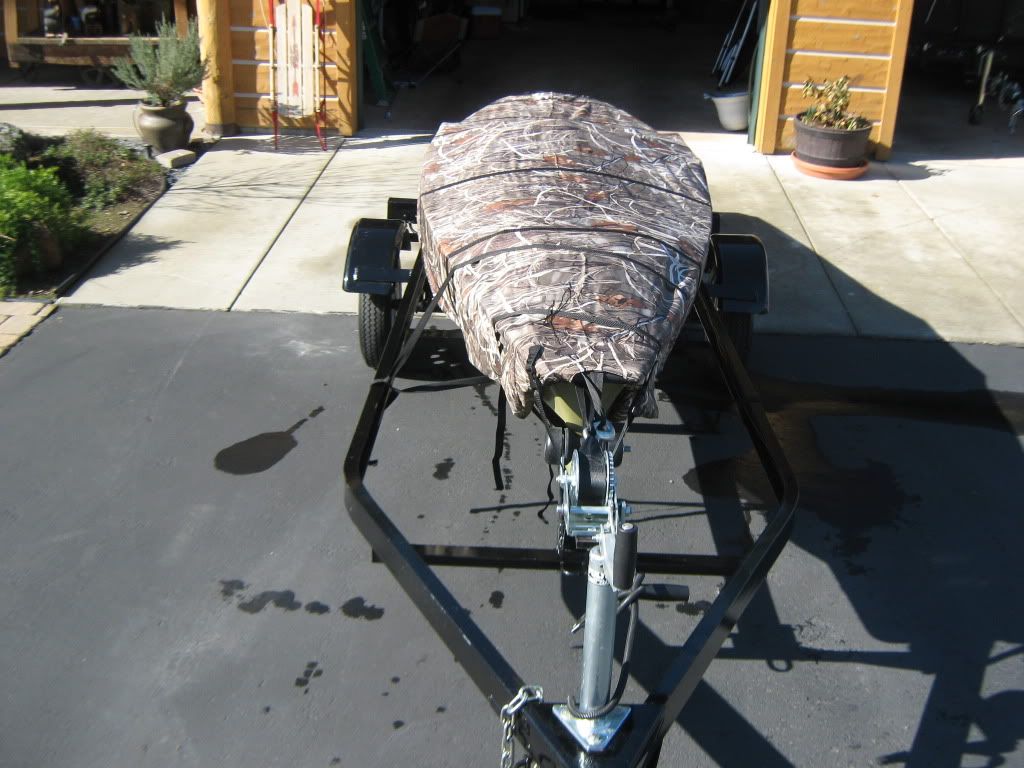
So basically all I did out of the box was unroll it on the kayak and attached the straps.  Then I pulled the bungee draw string and cinched up the bottom so the cat can't get in. 

http://www.cabelas.com/product/Trailerable-Camo-Jon-Boat-Covers/751656.uts?Ntk=AllProducts&searchPath=%2Fcatalog%2Fsearch.cmd%3Fform_state%3DsearchForm%26N%3D0%26fsch%3Dtrue%26Ntk%3DAllProducts%26Ntt%3Djon%2Bboat%2Bcover%26x%3D0%26y%3D0%26WTz_l%3DHeader%253BSearch-All%2BProducts&Ntt=jon+boat+cover&WTz_l=Header%3BSearch-All+Products

The cover is on sale for $52.88.  I don't think I could buy a cheap plastic tarp for that price. 

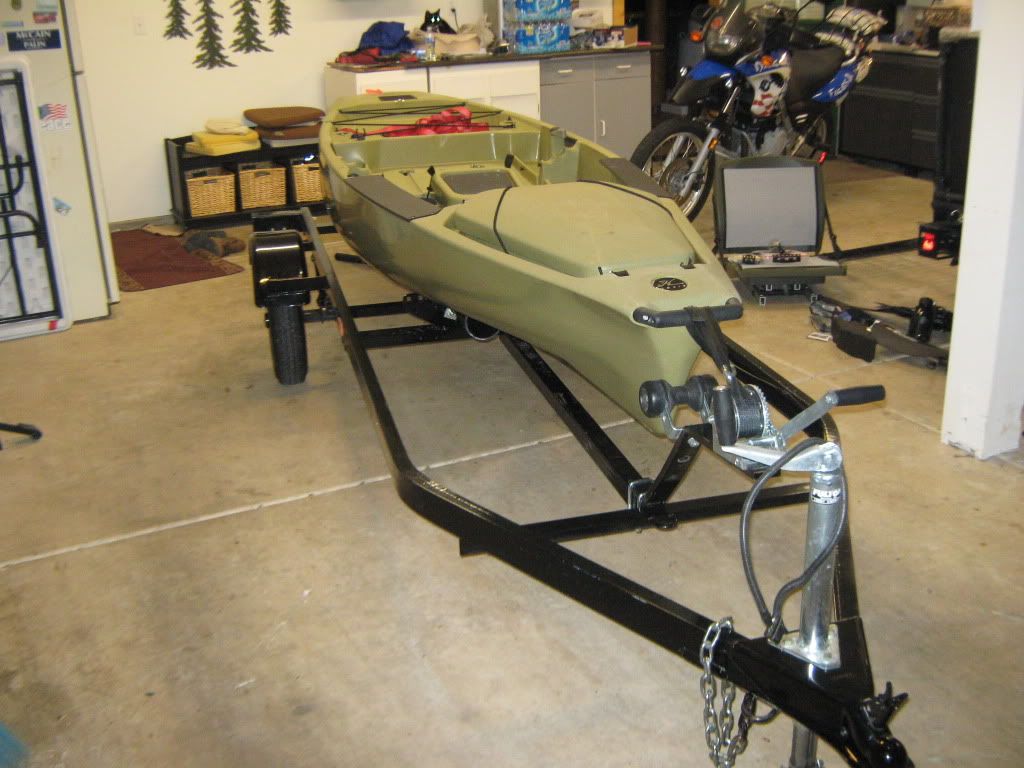
The cover fits pretty well even though the kayak is 13' 8" long and the cover is for a 12' jon boat.  I still have to trim the excess off the straps, but she looks good, sheds water and tight.  The cover has several straps to tighten up and there's an elastic cord sewn into the seam all the way around. 


77
Hi, I’m Jerry and I’m new to the whole kayak thing.  I decided to get a PA to use for fishing and hunting.  After research, I figured my best route was to build a trailer for it.  I have read several threads on trailers for my Pro Angler and decided that would start with a single jet ski / PWC trailer and add the plastic pipe for bunks.  On craigslist I found several and negotiated a price of $300 for the one you see here.  It was stored indoors and in near perfect shape.  The owner had decided to get a second PWC so his girlfriend would have one and was looking to get a dual trailer.  Trailer home, the work begins;

Removed the bunks off the trailer, those 2x6 carpet covered boards the PWC rested on.


Next I started to mount the hardware that would hold the pipe bunks.  This hardware is from a salvage shop near where I live that contractors use.  It’s called “Uni-Strut”.  I’ve seen some trailers on here that use it to build a frame over their kayak trailer to hold a storage box;


The uni-strut has a goldish plating like anodize but it’s steel.  I also used lock nuts. 


All four brackets are now mounted, but not tightened.  The brackets can rotate and that adjusts the spacing between the bunks. 


I cut the first tube to a length that allowed less than an inch overlap at the rear, and a foot in the front. Then I marked the second tube and cut it too.  I used a sawsall with a hacksaw blade on it. 


One at a time, I took off the bracket and marked, then drilled the holes.  I rotated the tube so the holes would be in the lettering.  That way I knew exactly were on the far end to mark length-wise.  I also oval out the holes length wise so that when the PA is on the trailer, the bunks and sag under the load and wrap the bottom.  If I hadn’t, they would not have flexed as easy.


I pre bent the washers so they wouldn’t crush the plastic tube.  I won’t be tightening the fasteners, just snugging them so the bunks can float on the oval holes I drilled.


Installed washers only snug tightened lock nuts.


With all four ends mounted, I can now adjust my bunks.  Here’s a series of photos showing the range and my final measurements.  Outside to outside on 4” tubes is 16” and center to center is 11 ¼”.  The center to center should be good for any size tube you use.  A smaller diameter than 4” could be used on the tube, but I chose it due to the unsupported span I had; 5 feet.  I’ve seen on line here, trailers with 2” tubes but there was a support mid span.


Final product!!


Here’s the PA on the trailer.


Here’s photos close-up under and where the bunks meet the PA.  As the weight begins to flex the bunks, the slots I drilled in will allow the bunk to sag properly and form-fit to the bottom of the PA
REAR:


FRONT


The hardware store had these plugs.  They were red and had a gasket and wing nut on them.  I think red is for 4”.  I could only find a photo of a 3” plug.  If you put a plug in each end and had sealed the drilled holes, these tubes could be used for storage.


Well, there you go.  Total cost was under $50 for materials from Home Depot and the local contractor salvage and a store called Habitat for Humanity where people donate construction stuff and they sell it to raise money to build homes. With the original $300 investment in the trailer, I found this to be pretty economical way to haul my PA around and store it too.   

Pages: 1 ... 4 5 [6]
anything