

 Welcome, Guest. Please
  April 30, 2024, 06:07:24 AM
1
Craftsmen's Corner / Hobie Fishfinder Battery Upgrade
« on: August 29, 2019, 08:34:19 AM »
It was time to replace the battery after noticing I was only getting 3 hours of use out of my 12V 9AH Gel Cell battery that came with my Hobie Fishfinder Kit. On a full charge the voltage topped off at 12.1V! The thing about these batterys is that they dont like to be discharged and my Lowrance Elite 5 TI drew 1.2A, virtually damaging the cells by running them dry on every outing.
The solution: Buy a bigger battery! But the downside is you would have to carry the additional weight. So even better, buy a Lithium Iron Phosphate LiFePO4. Not only lighter but they dont mind being completely discharged!
Time to salvage the cover and connector using a flat blade:
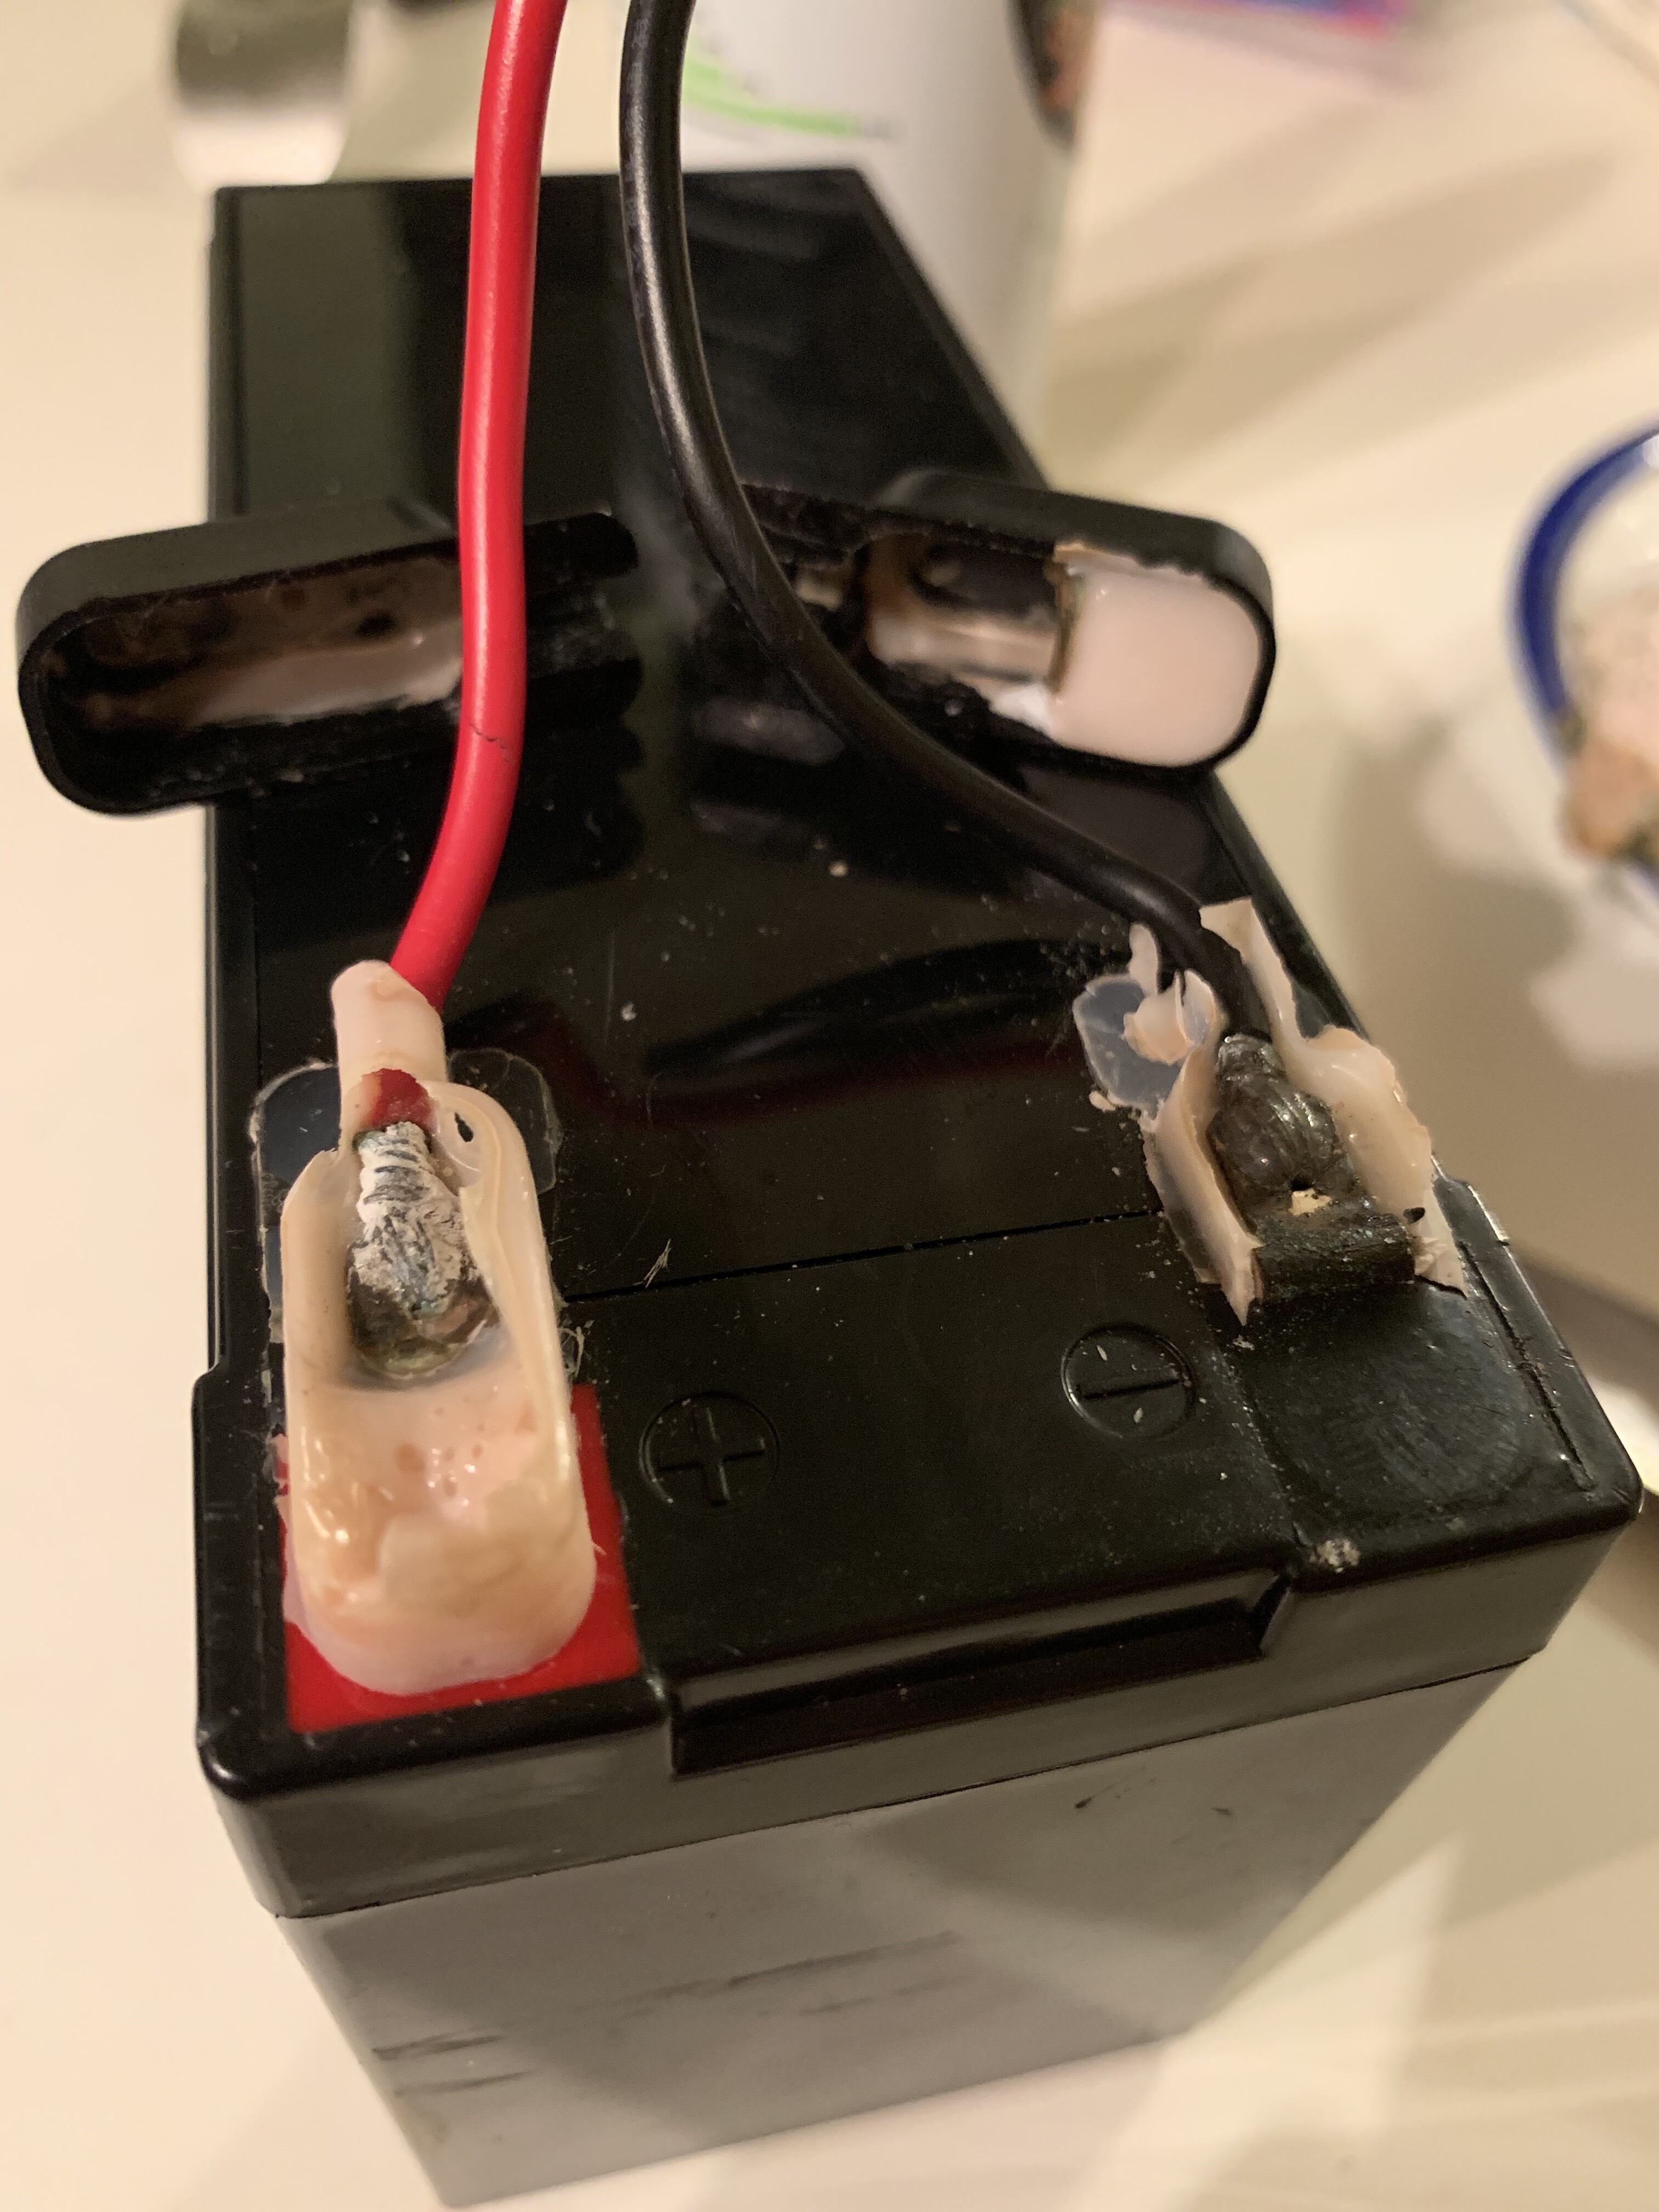
Great job Hobie!
Now lets clean up those wires and remove the plastic covers so we can use them on the new battery:
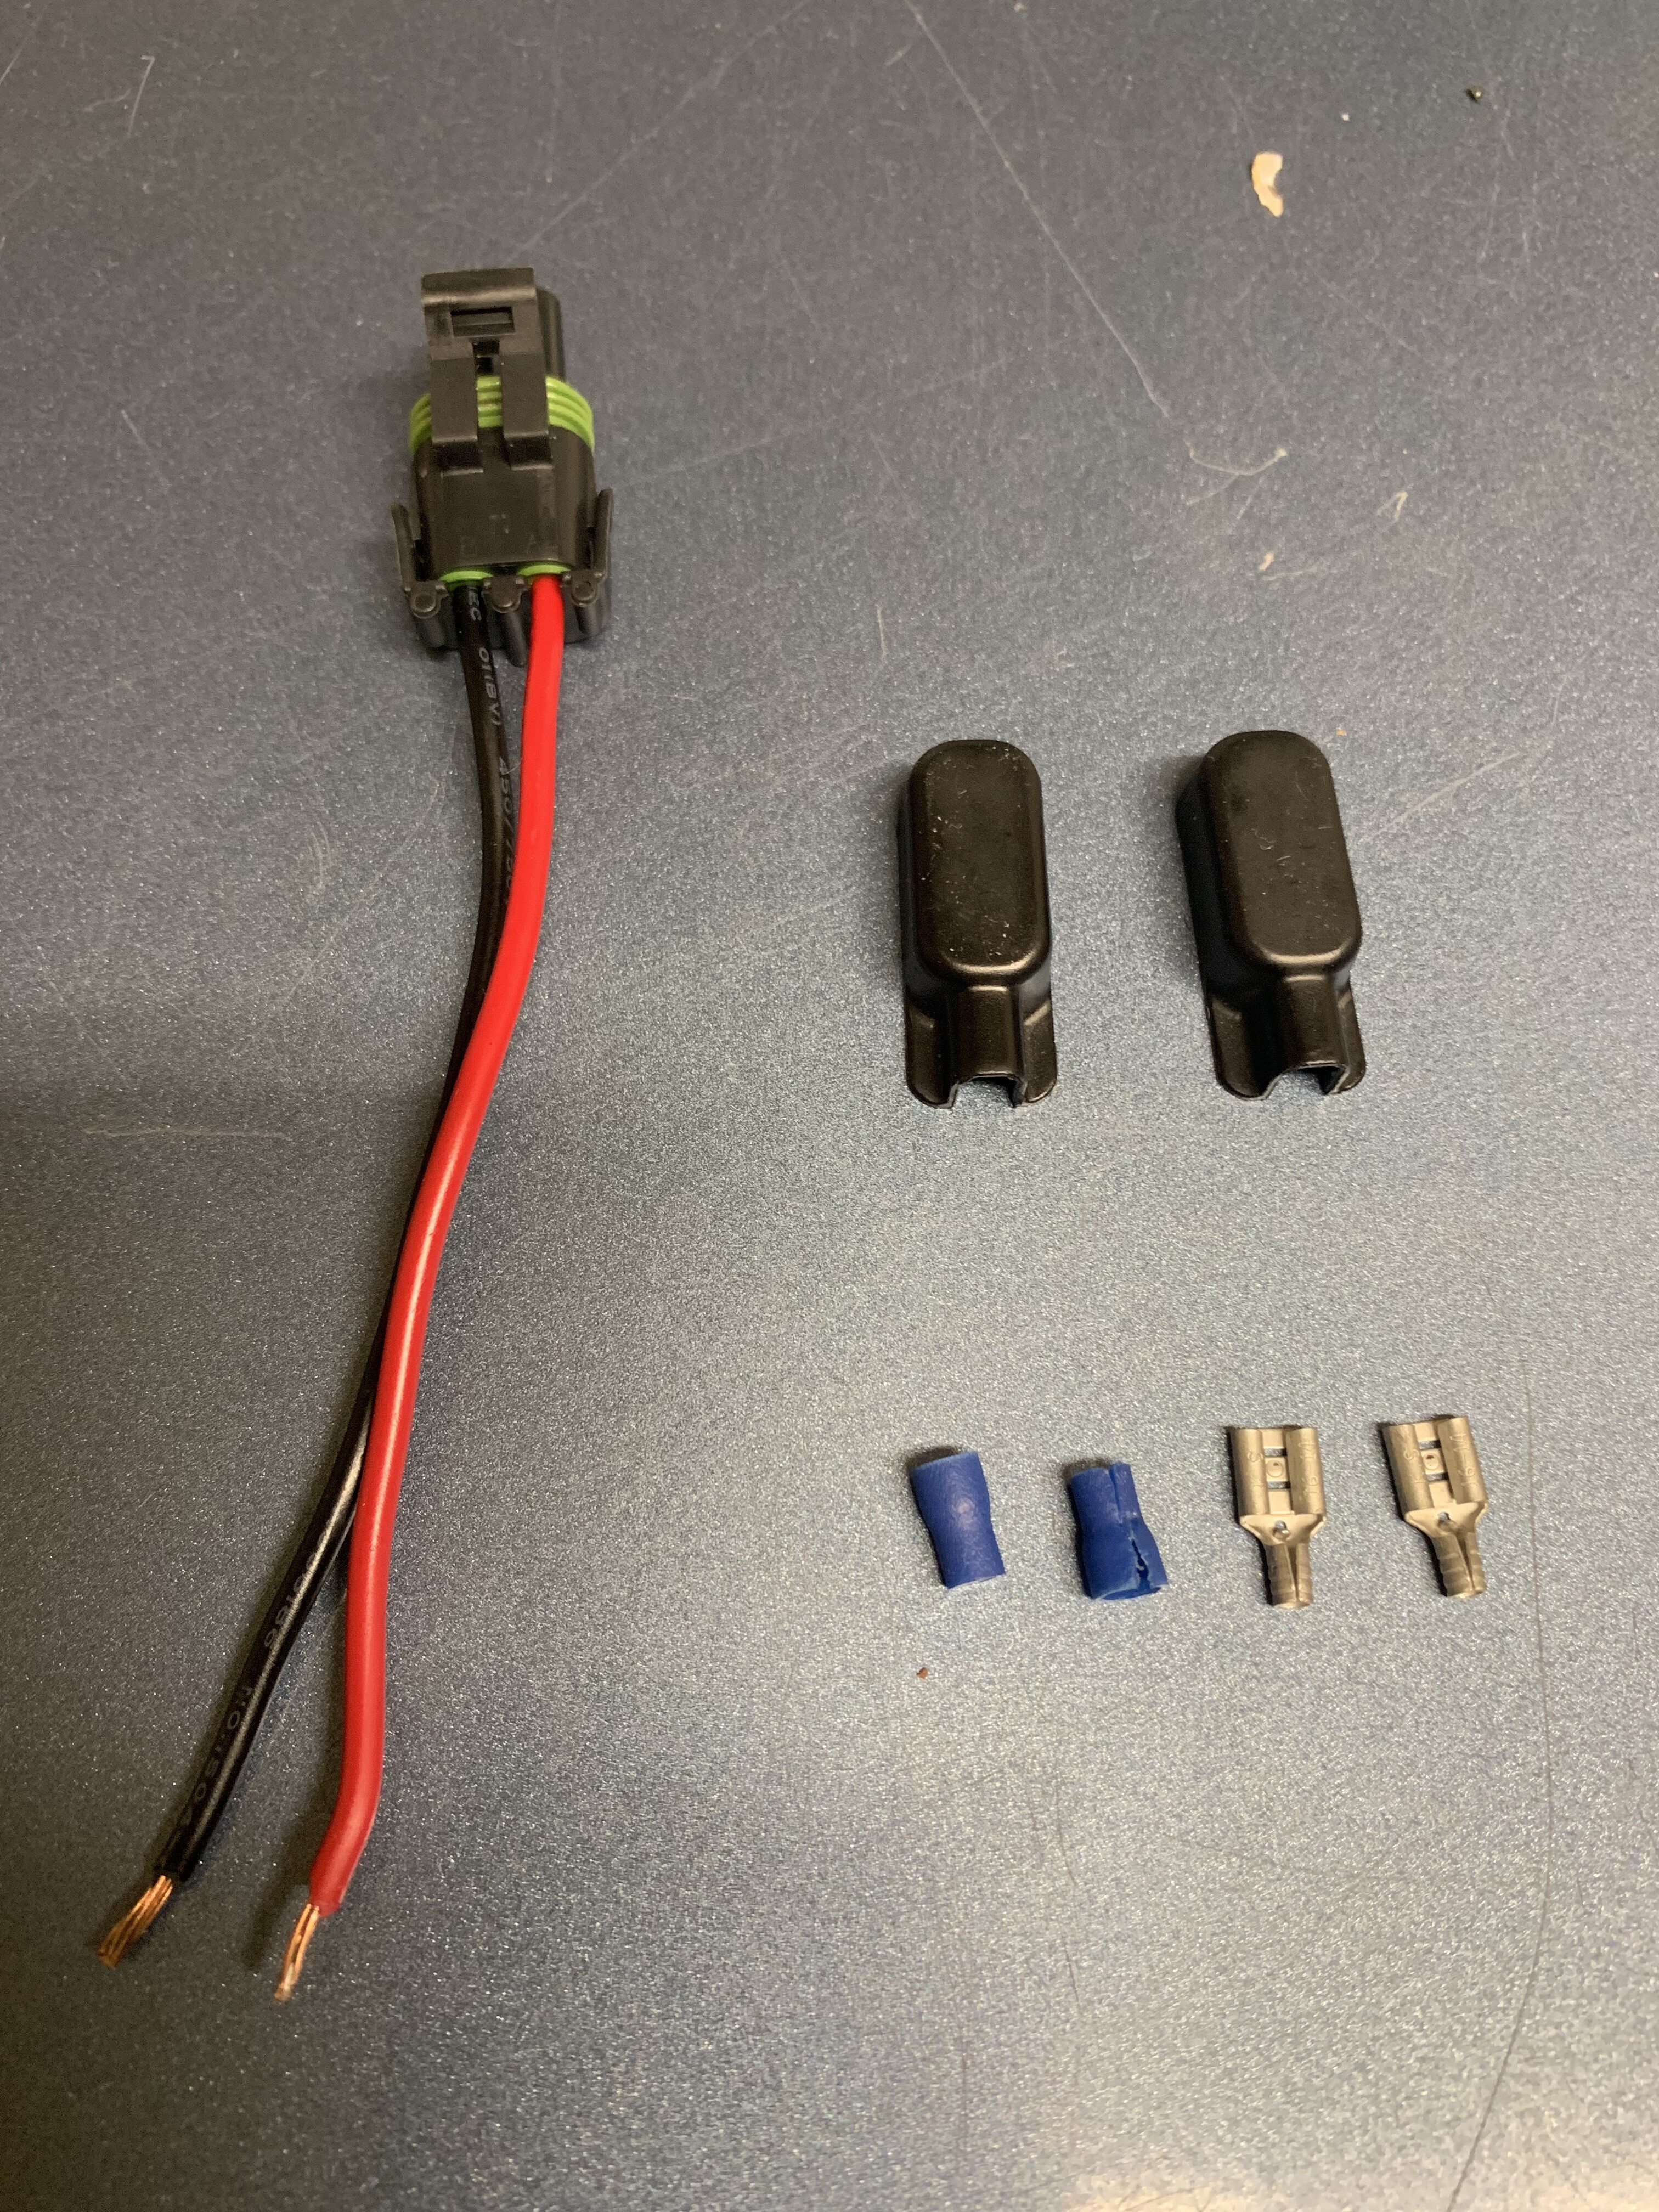
Use a good flexible glue for the connectors and lets fill up those covers:

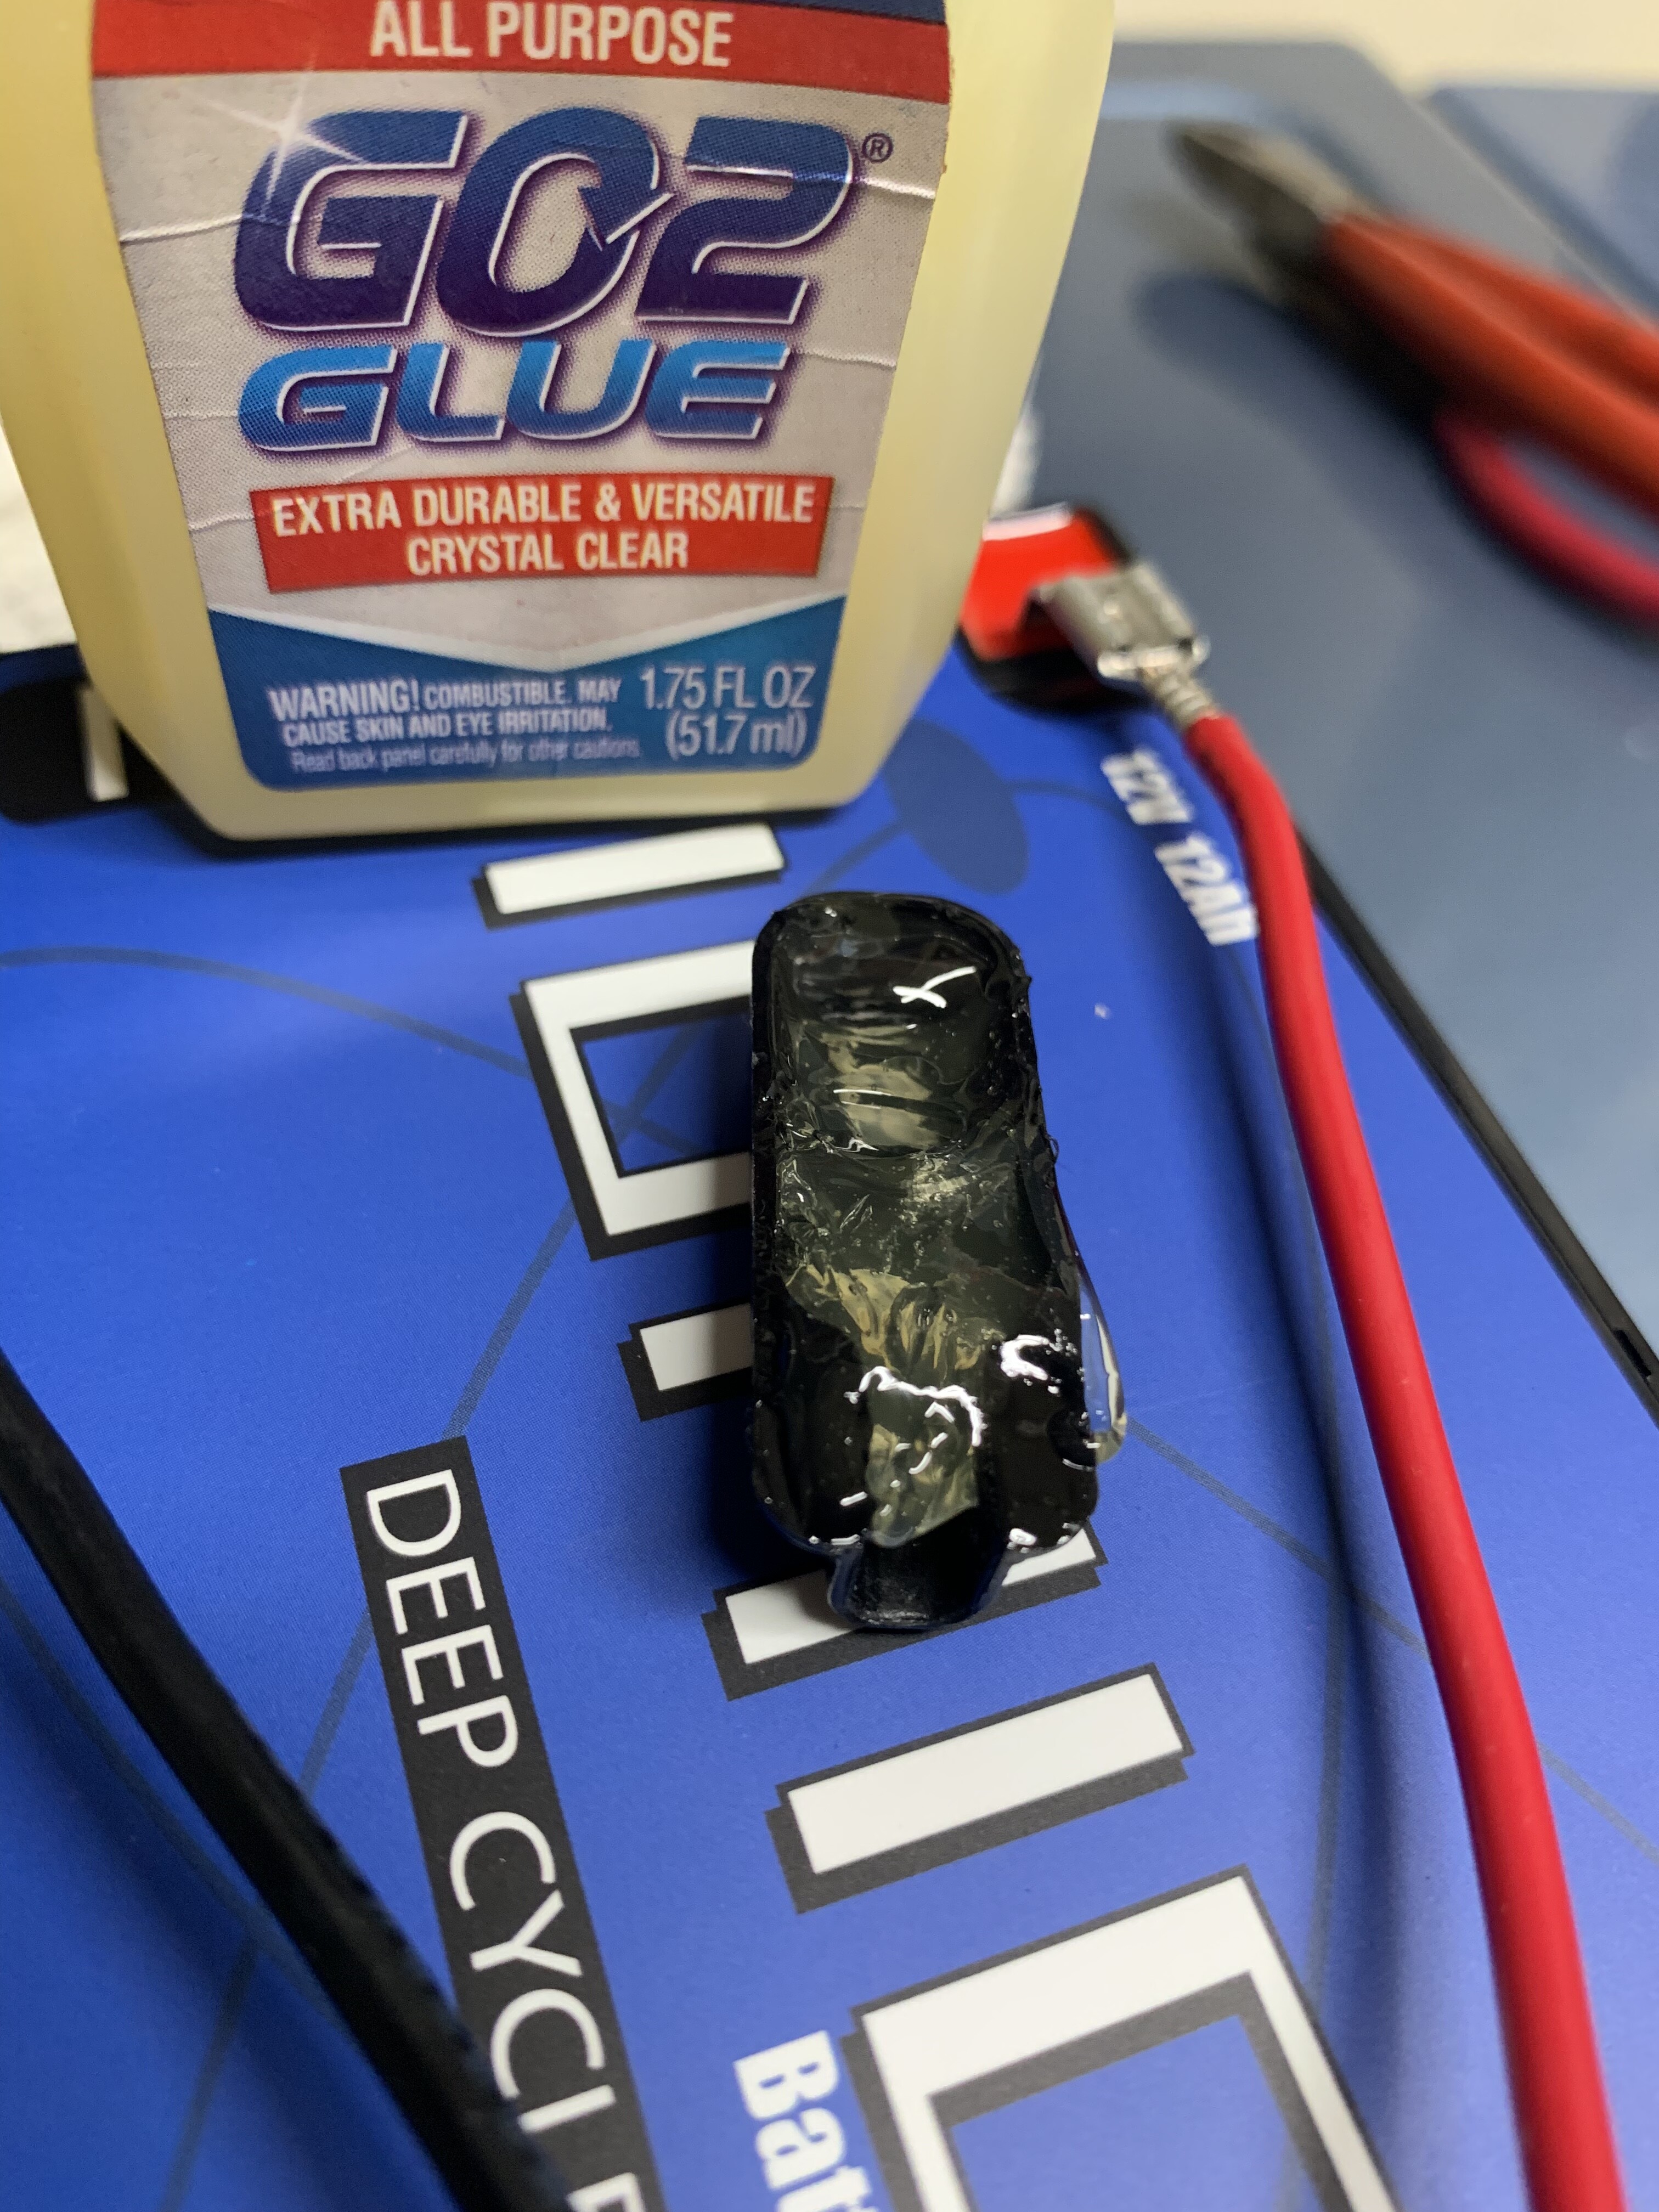
Make sure the opening is completely sealed off to prevent corrosion and then clean off any excess:
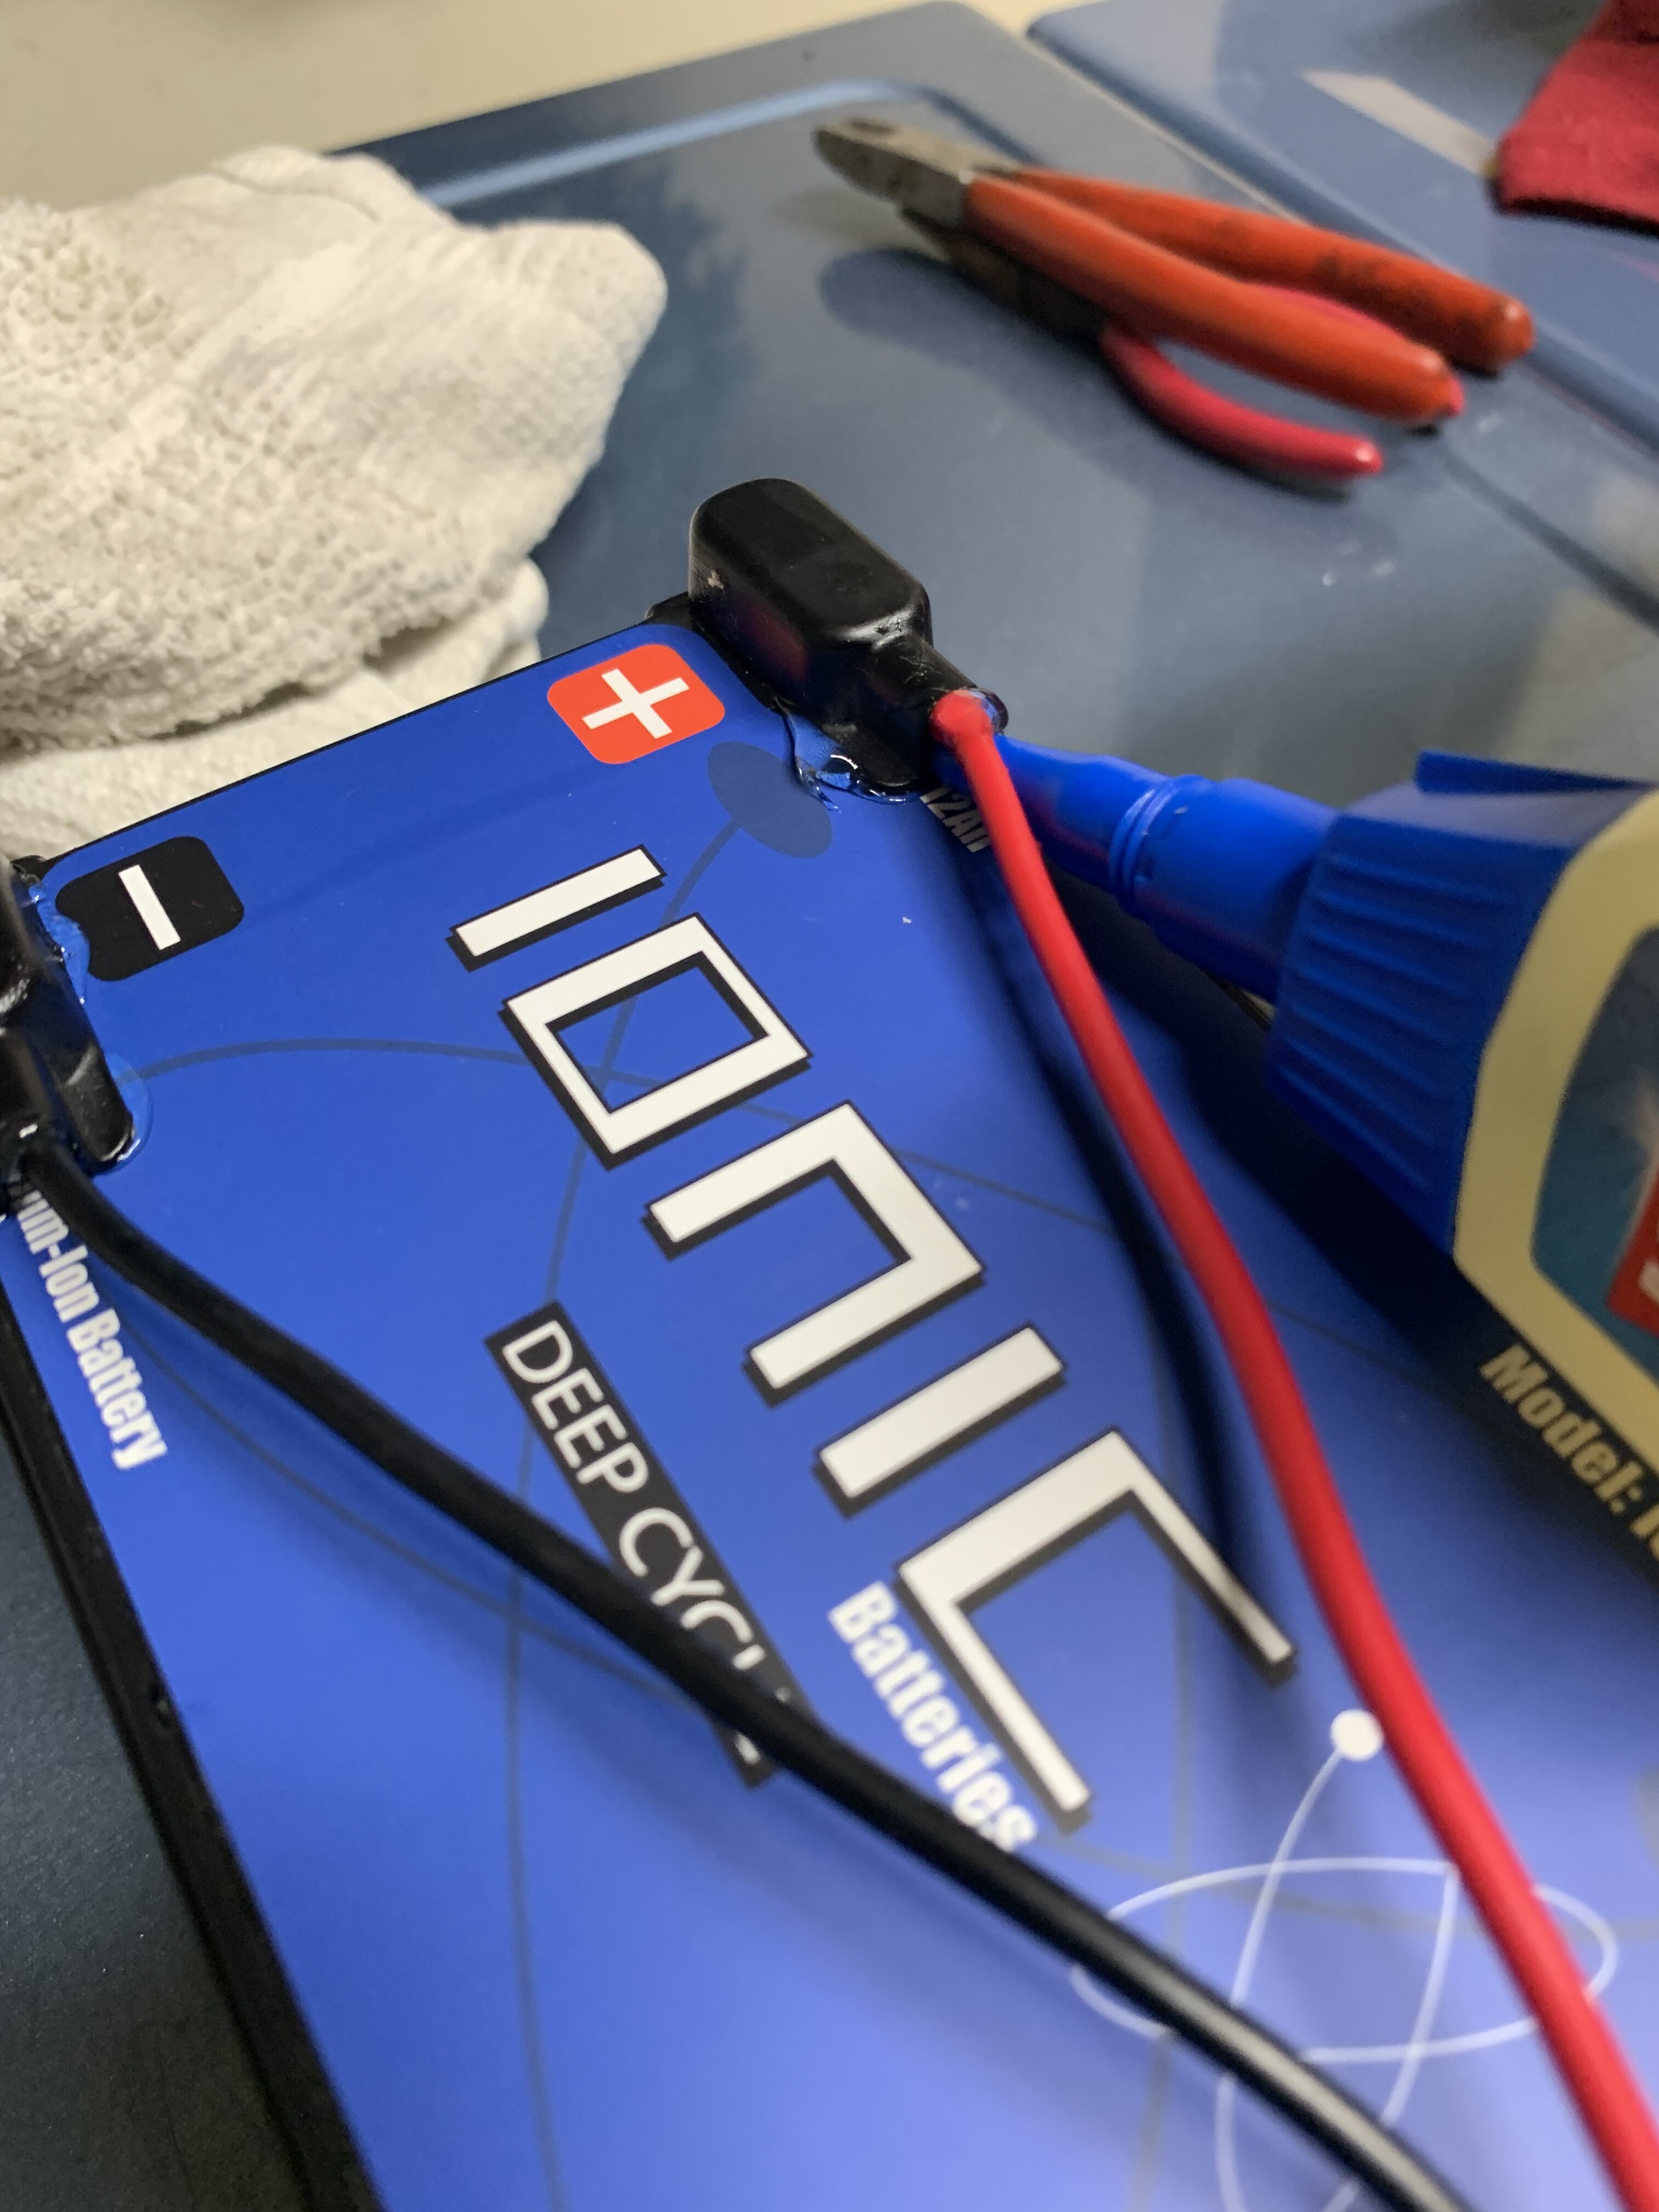
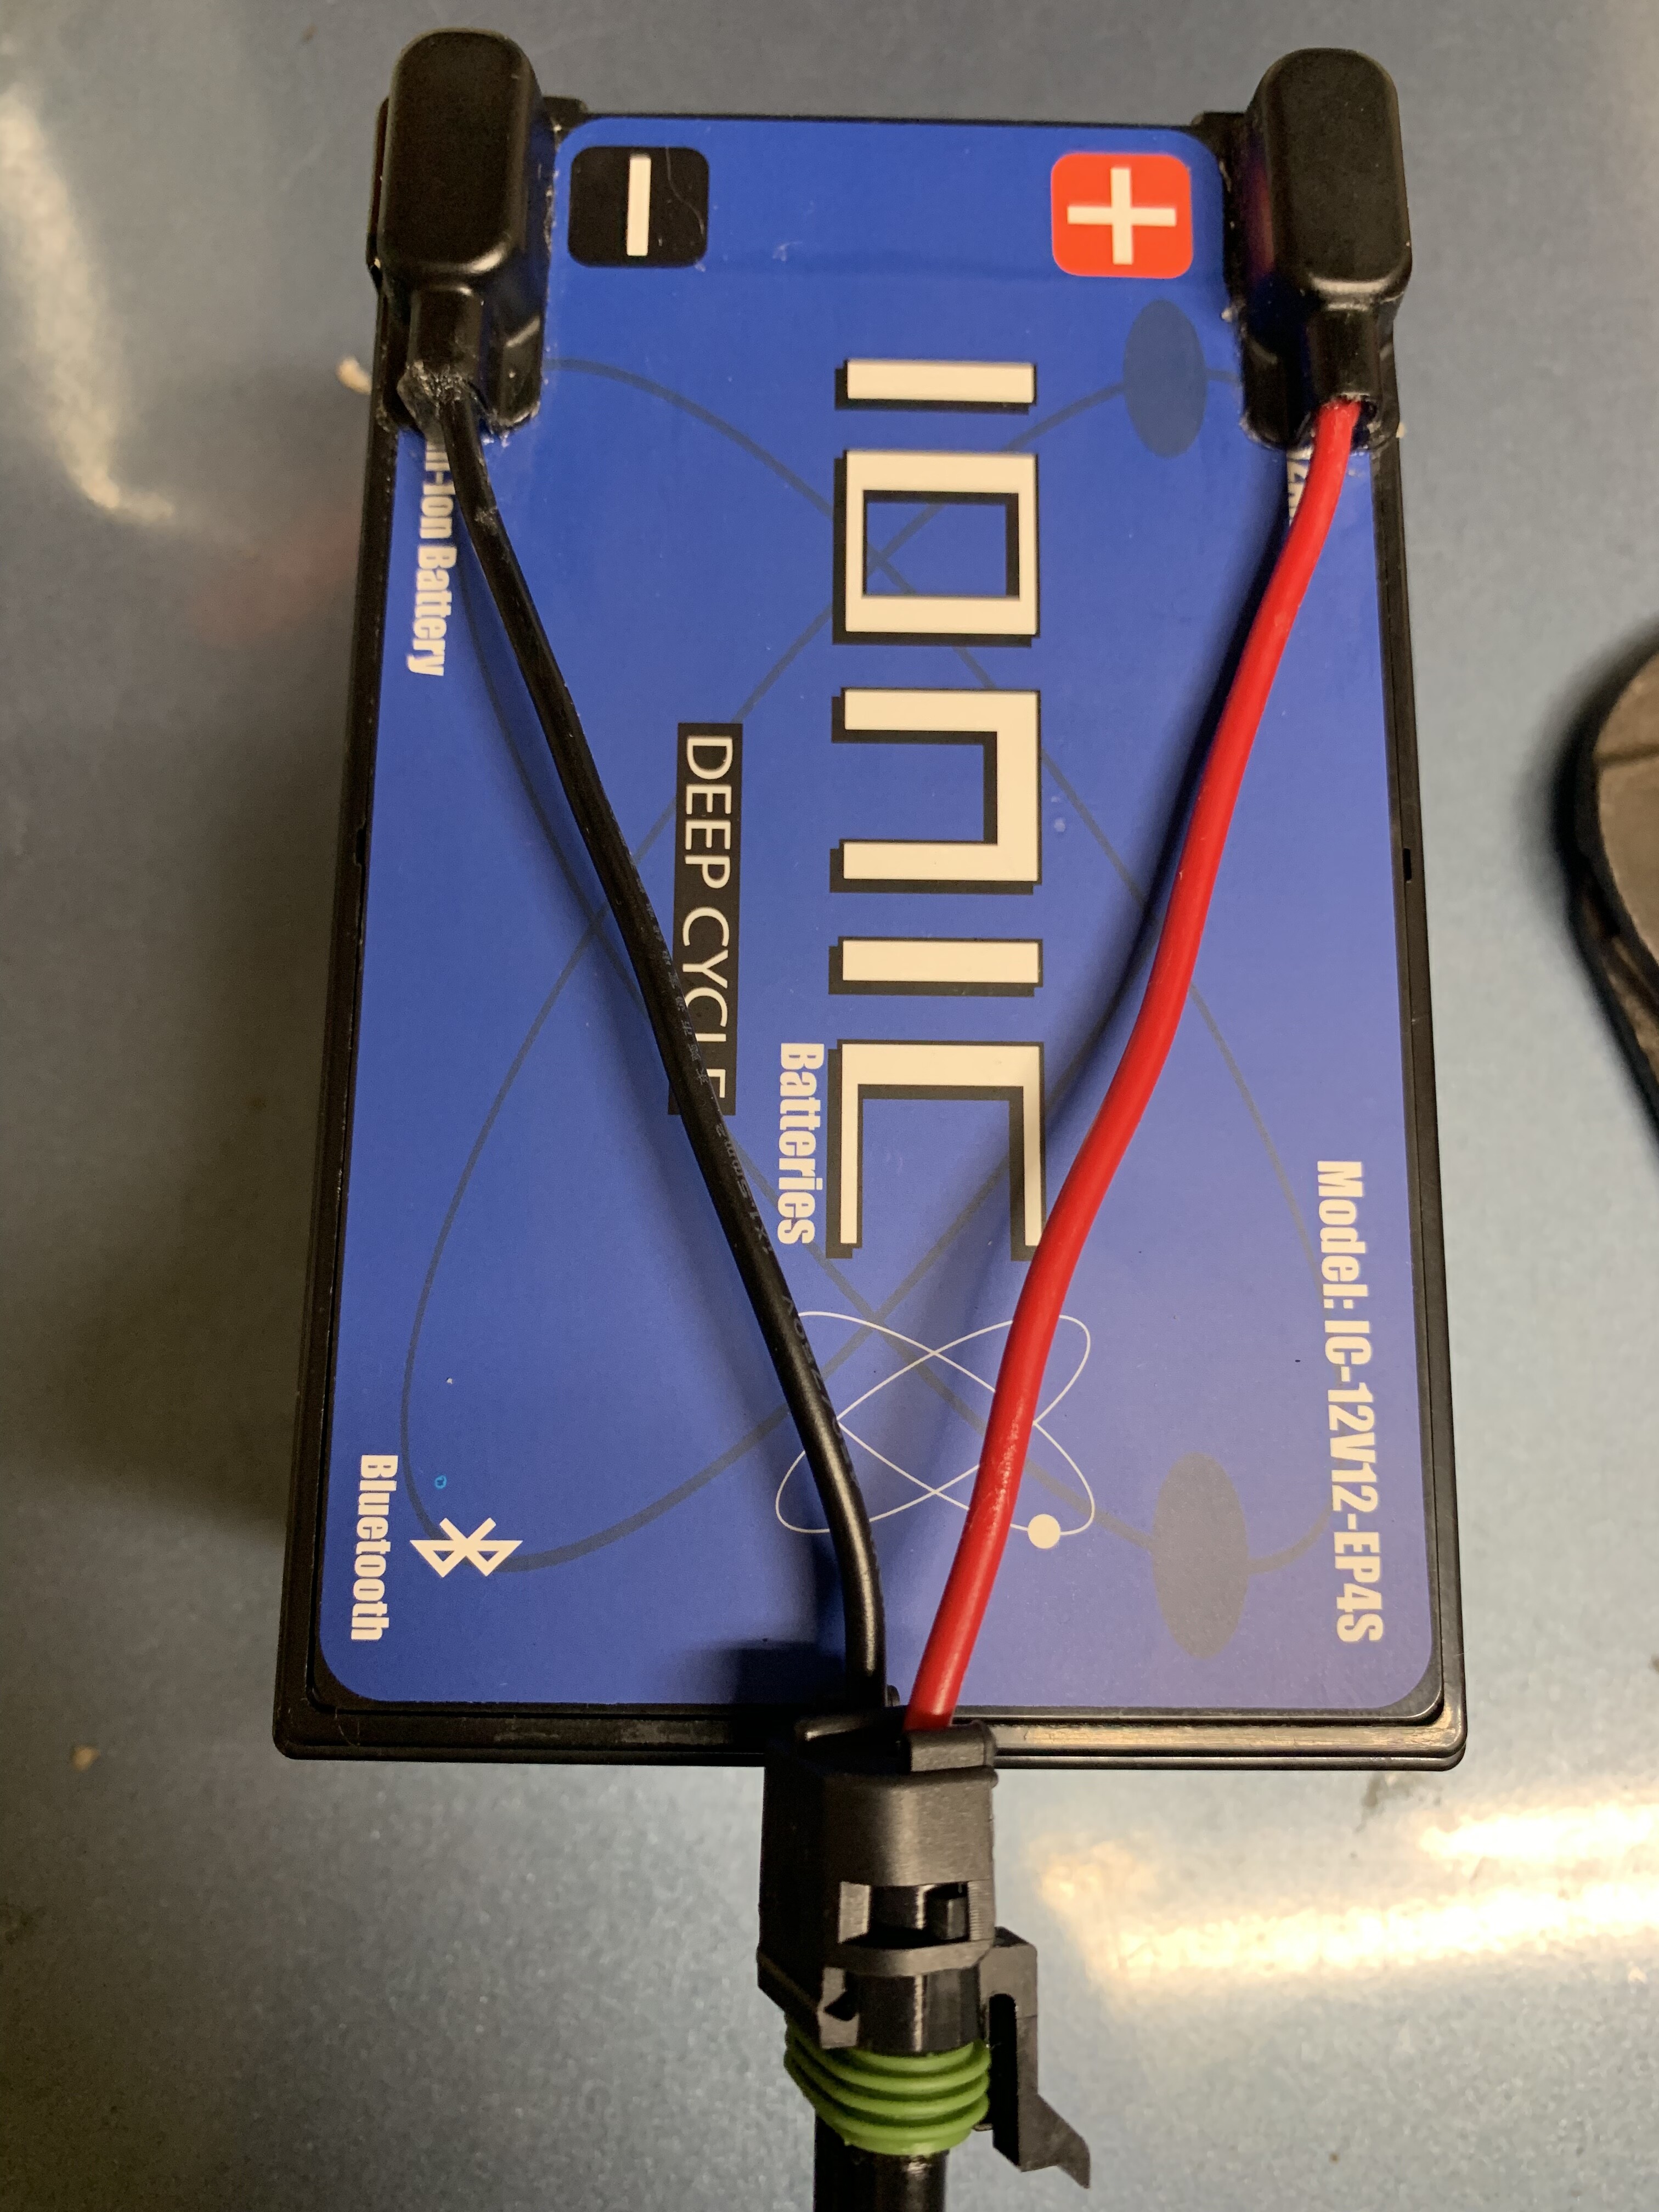
Finally let the glue dry for 24hrs and install in the existing Hobie tray.
I opted for the 12AH to give myself ample time to enjoy using my Fishfinder. Its wider so it wont snap into place but nothing a bungee cord cant fix.
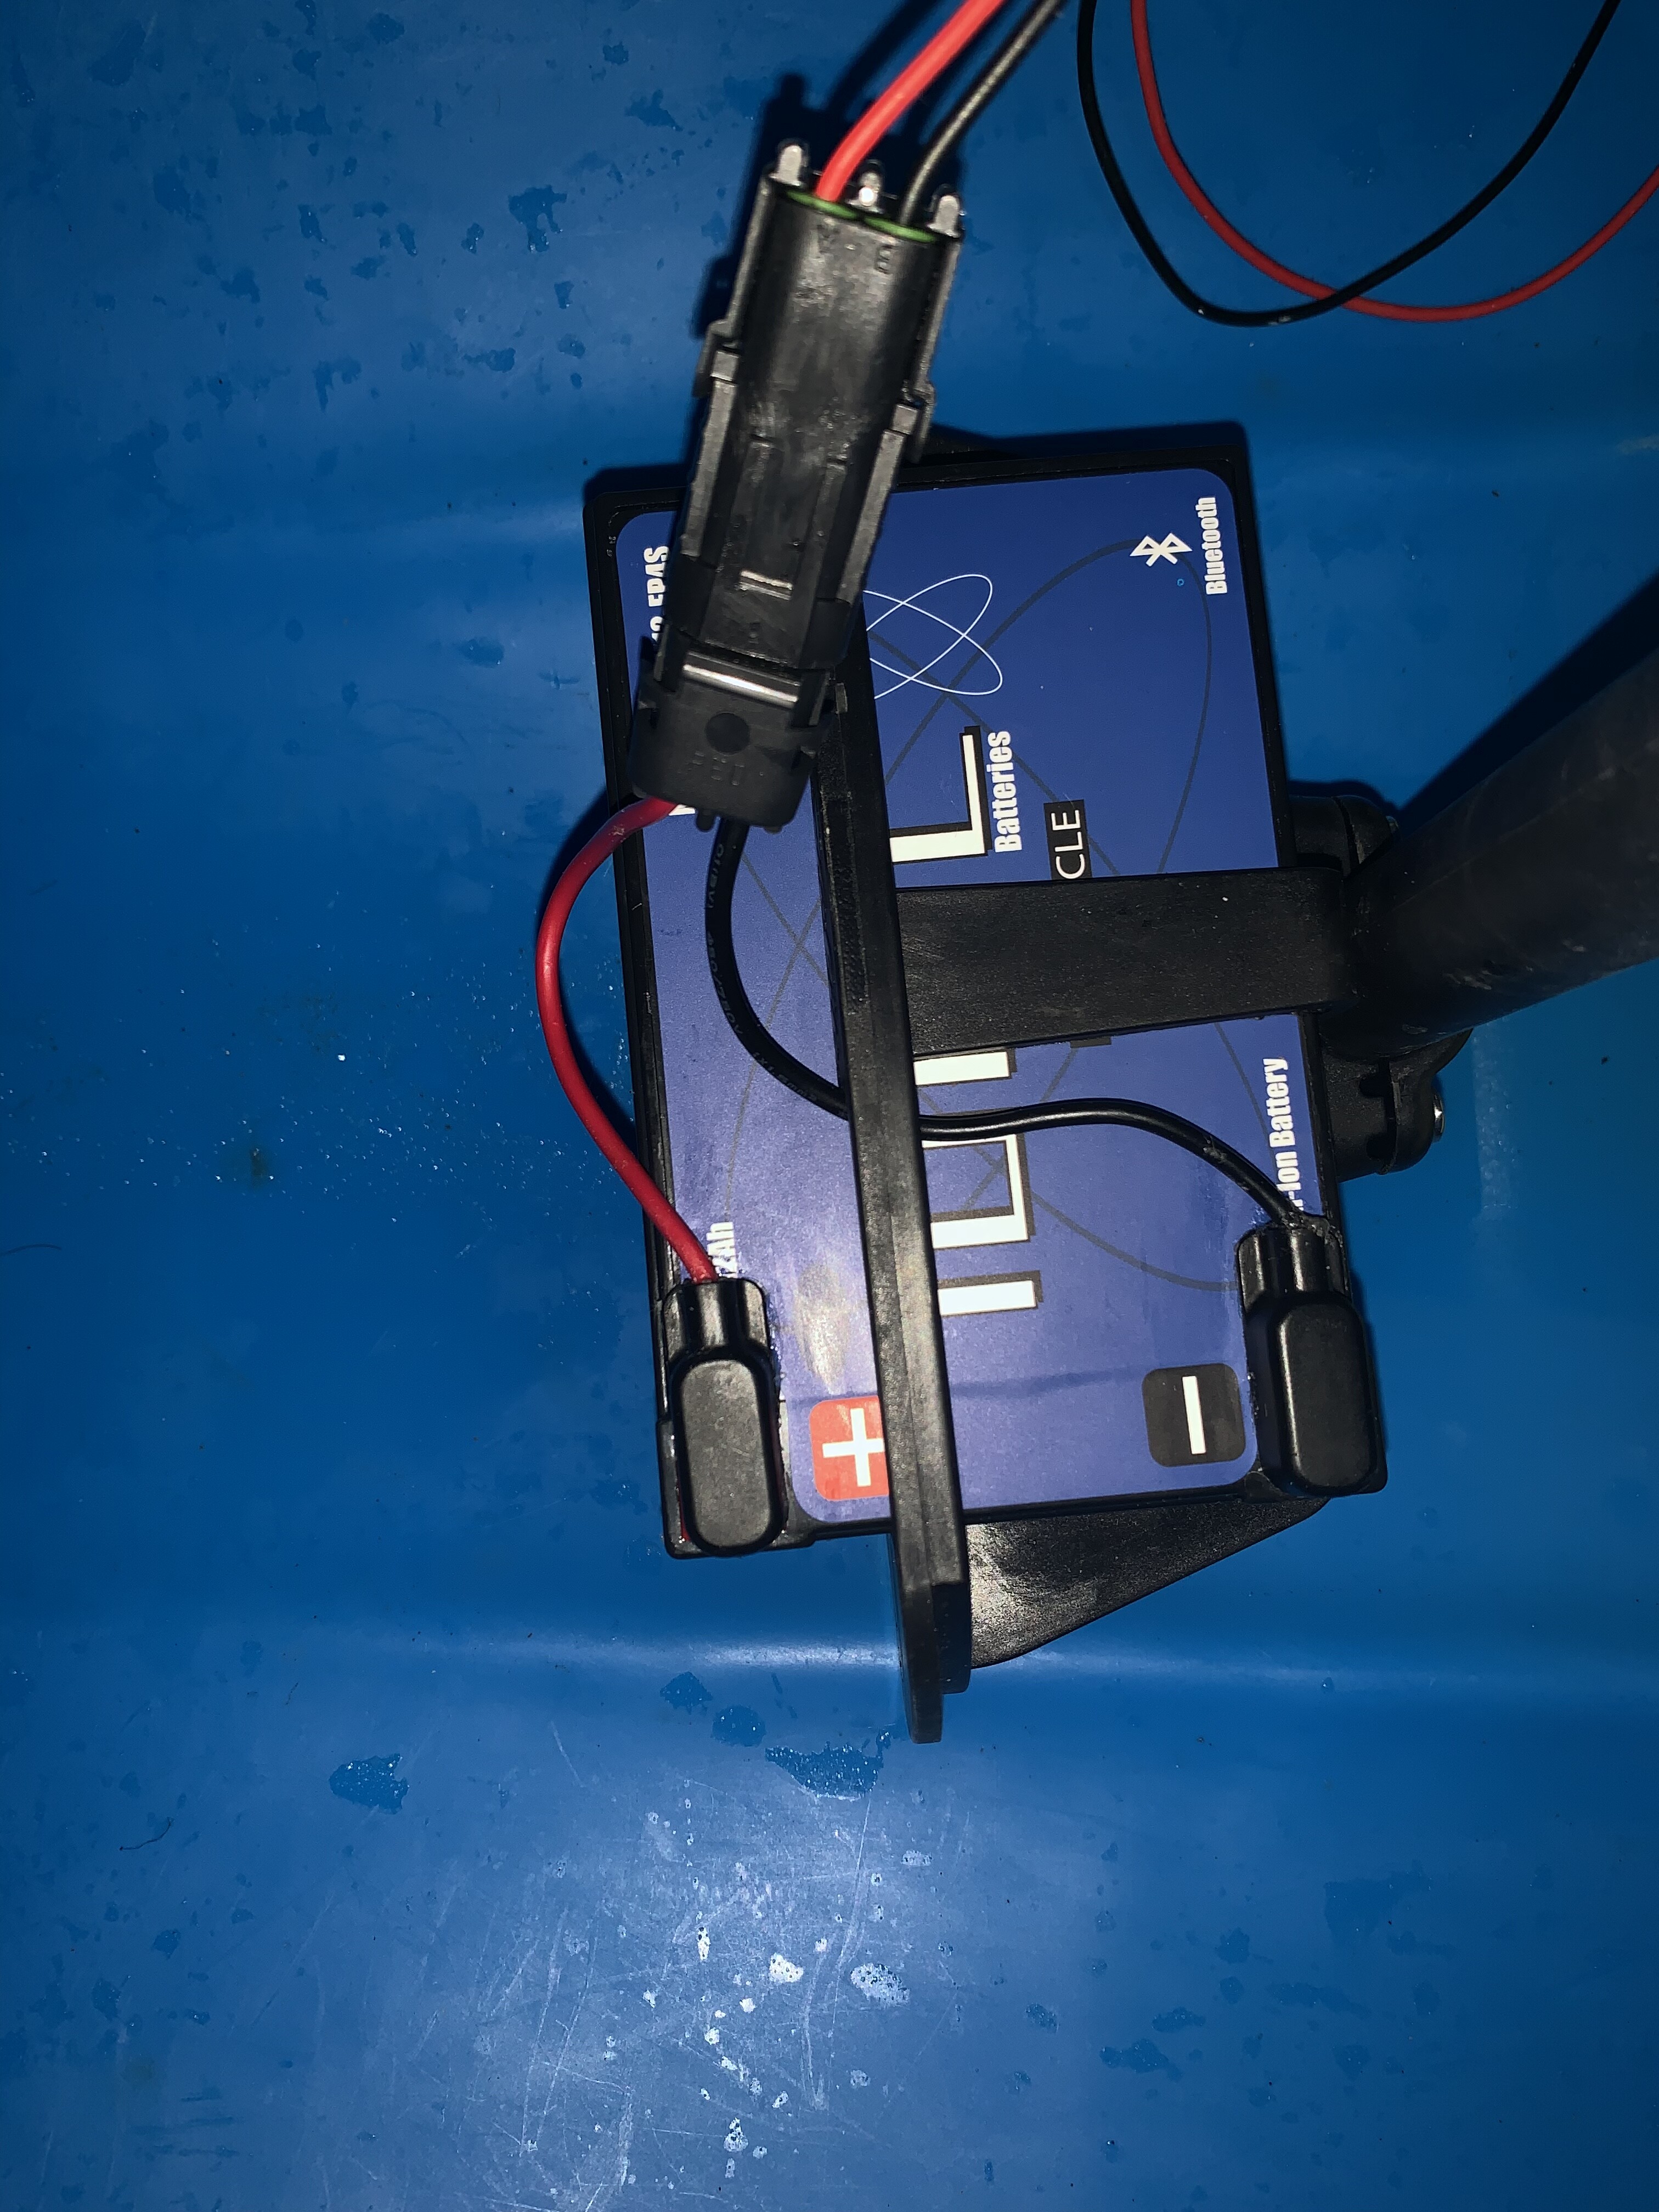
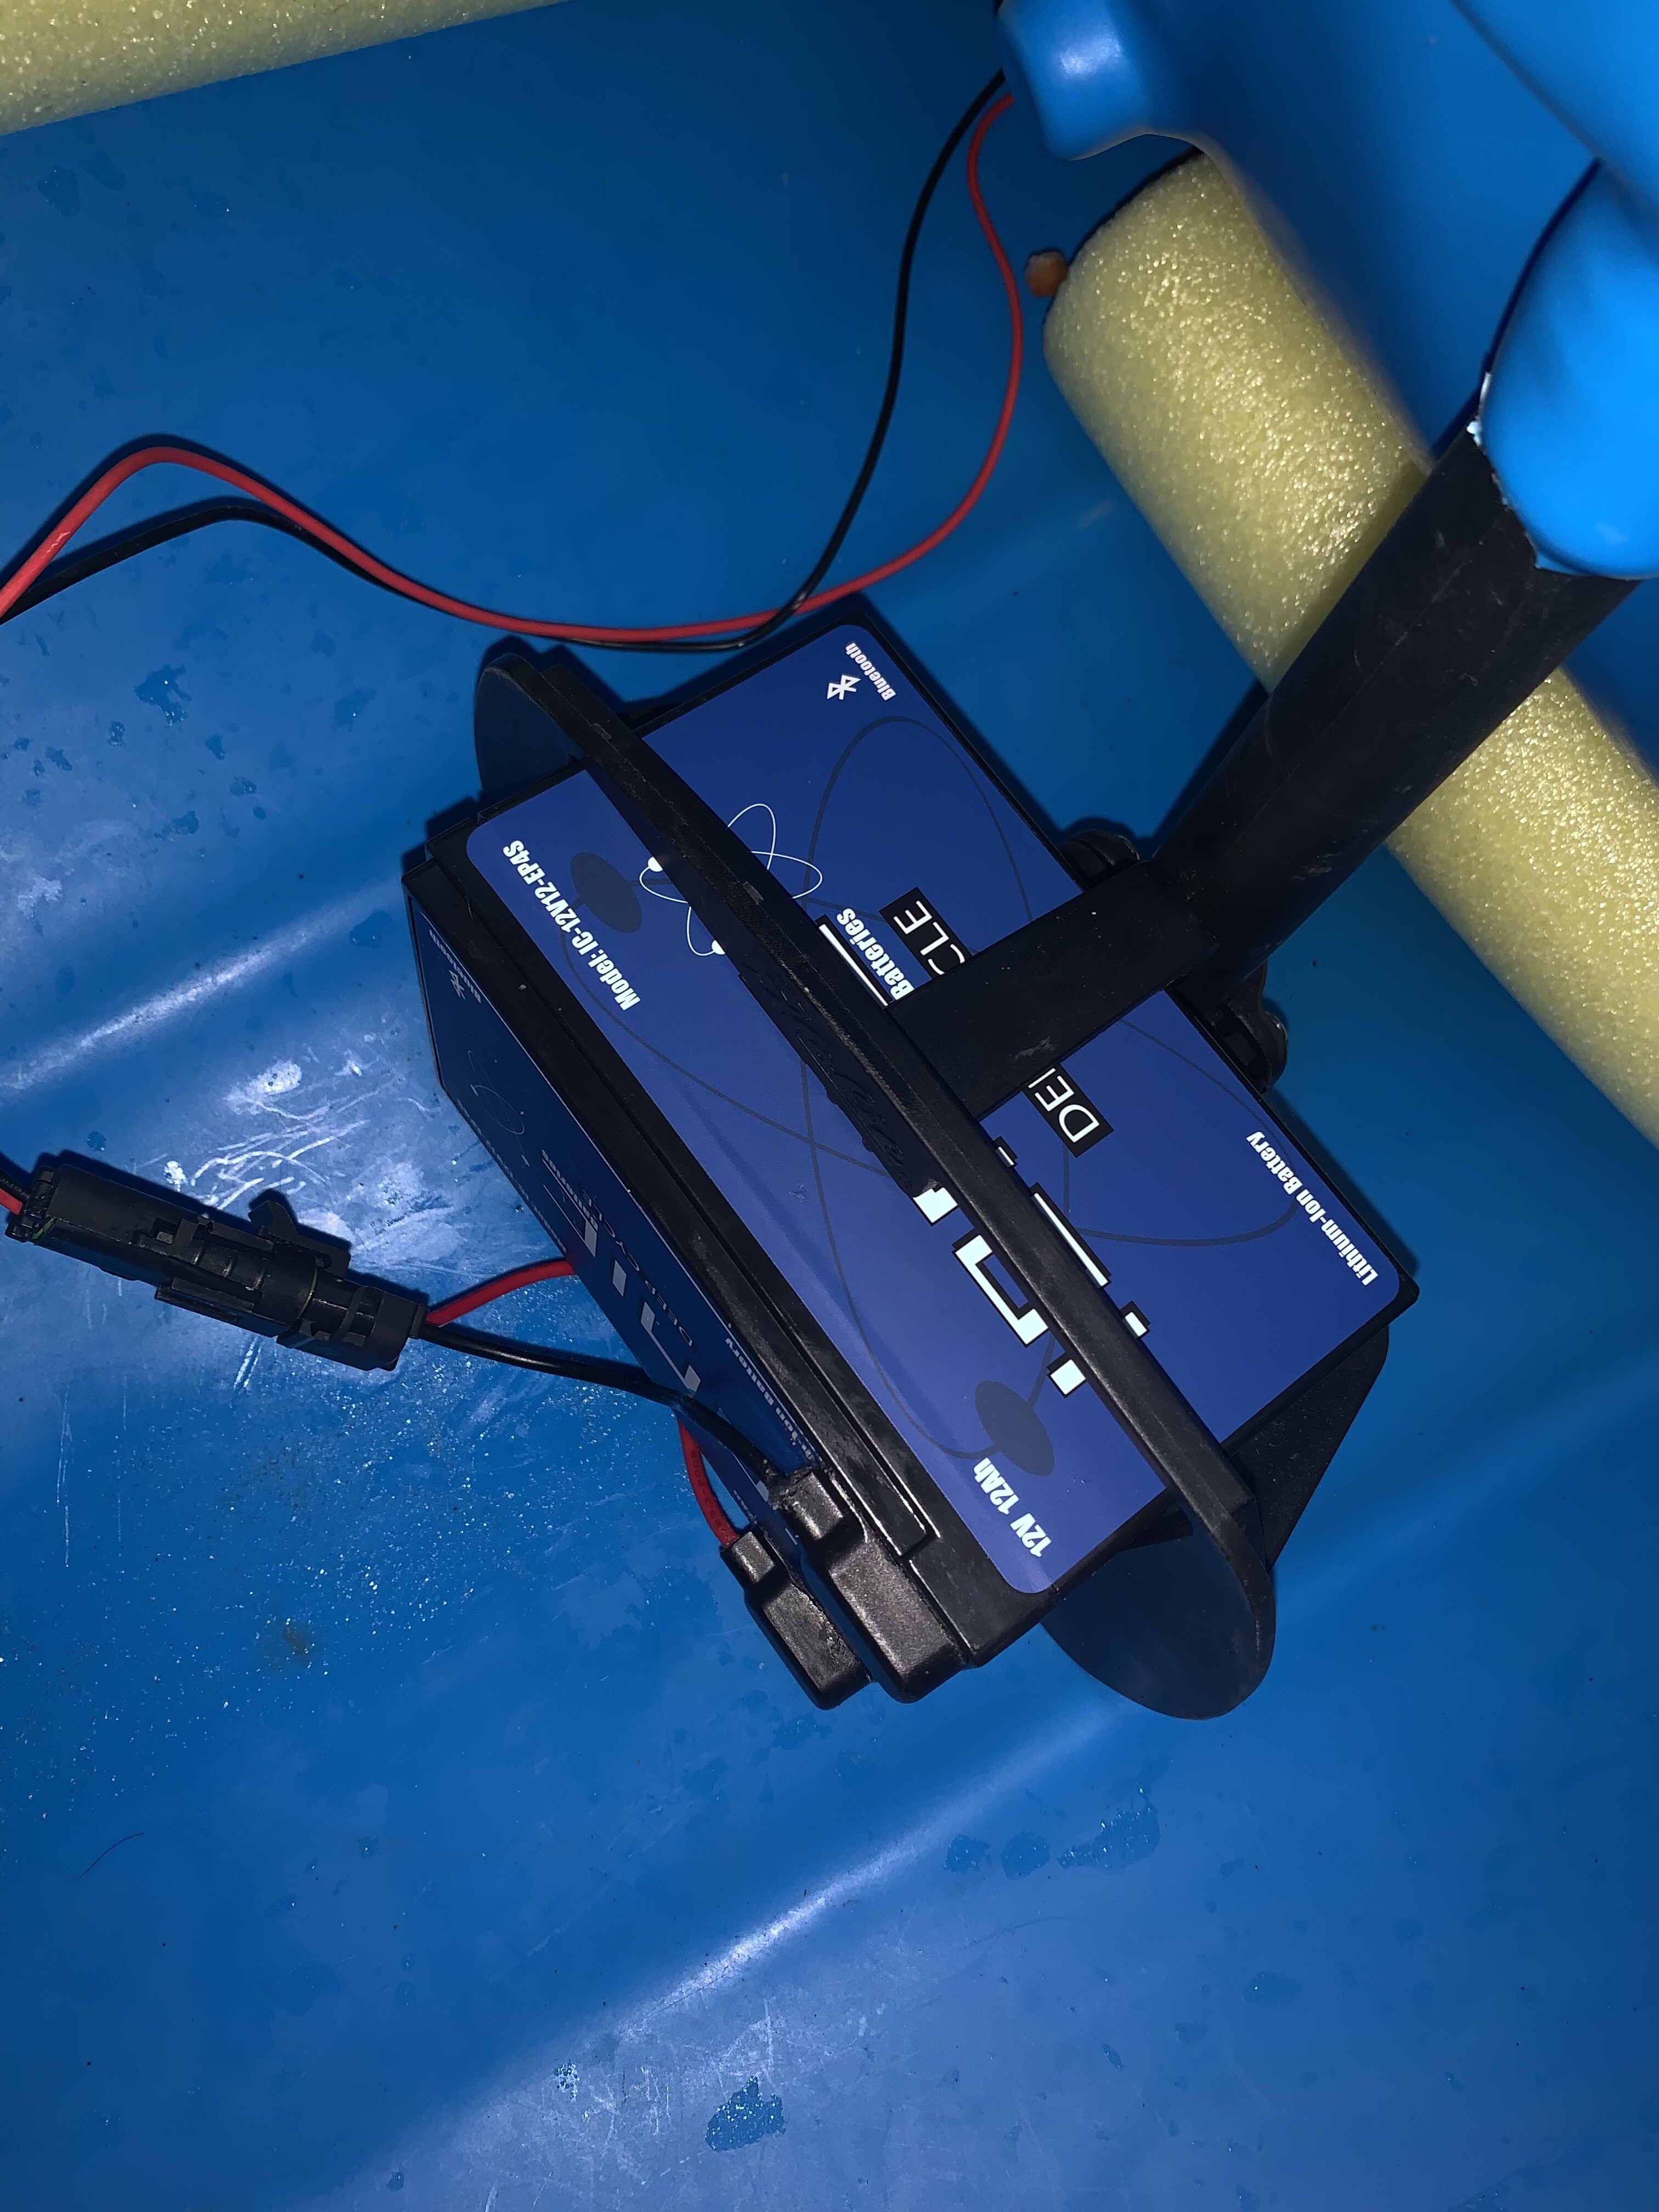
Another added benefit is that lithium batterys can be mounted on its side if you want to avoid the wires being pulled by the battery tray:
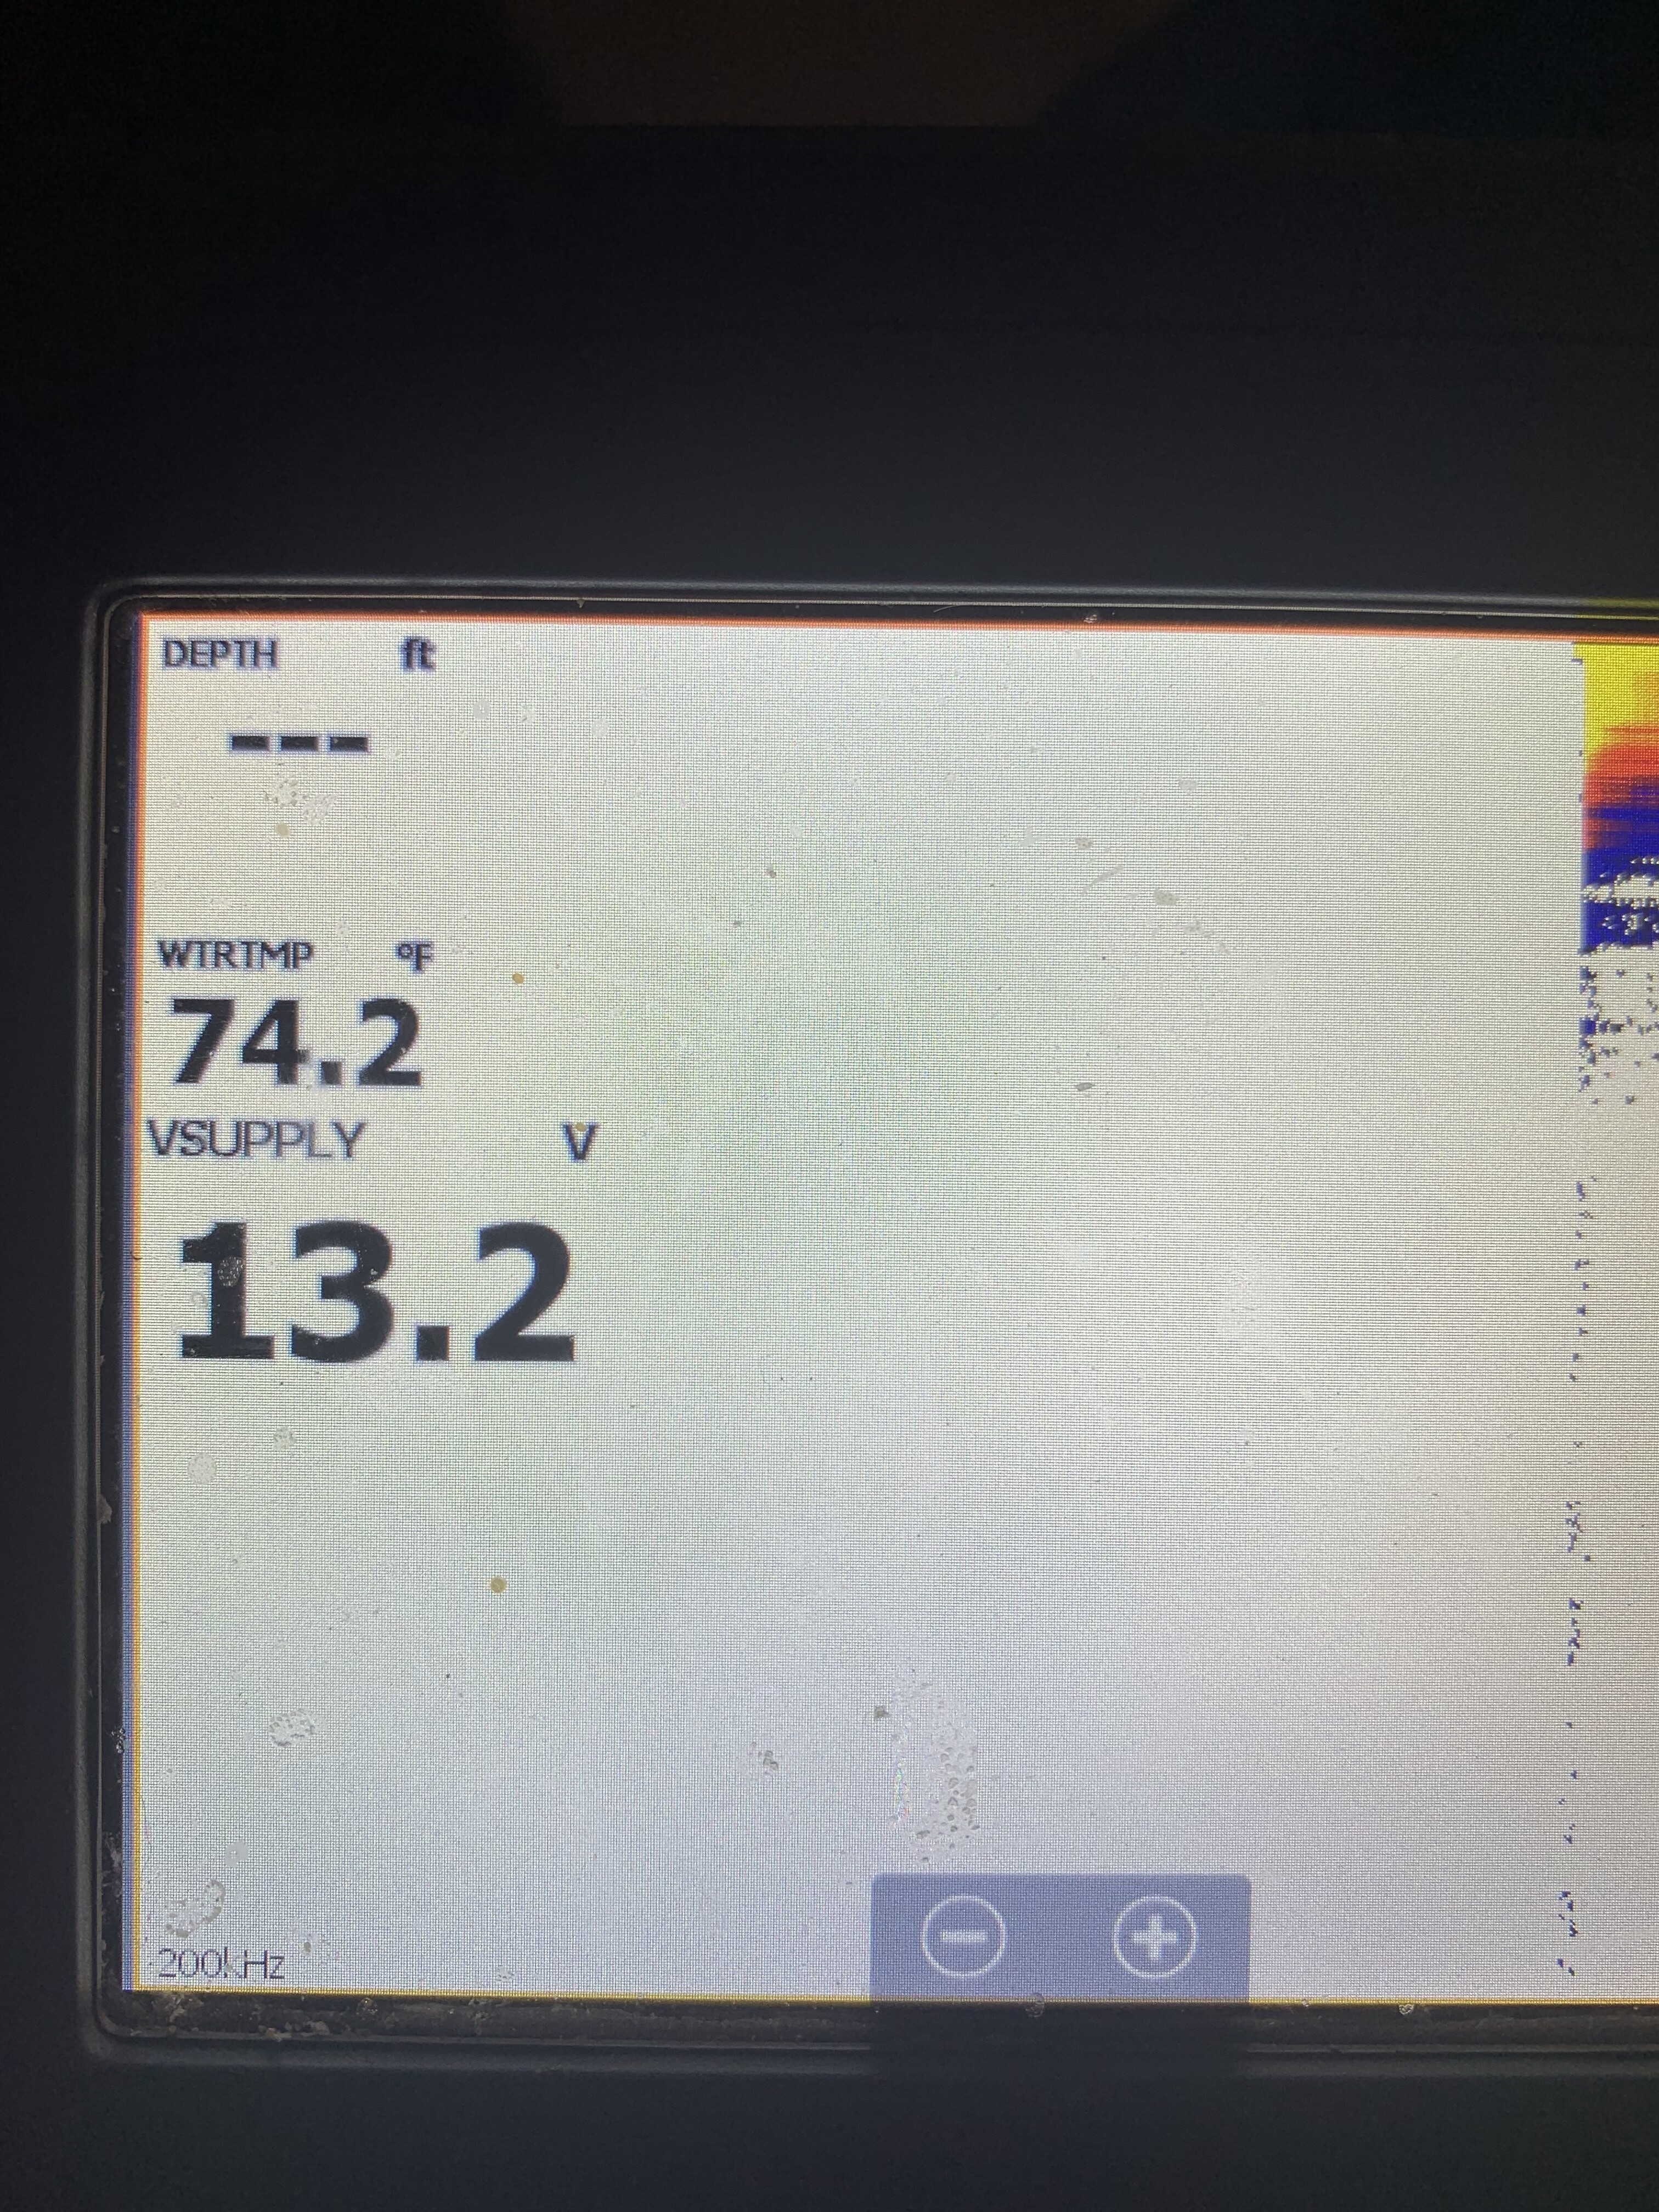
Here are the specs from the battery app and the voltage from the Fishfinder:
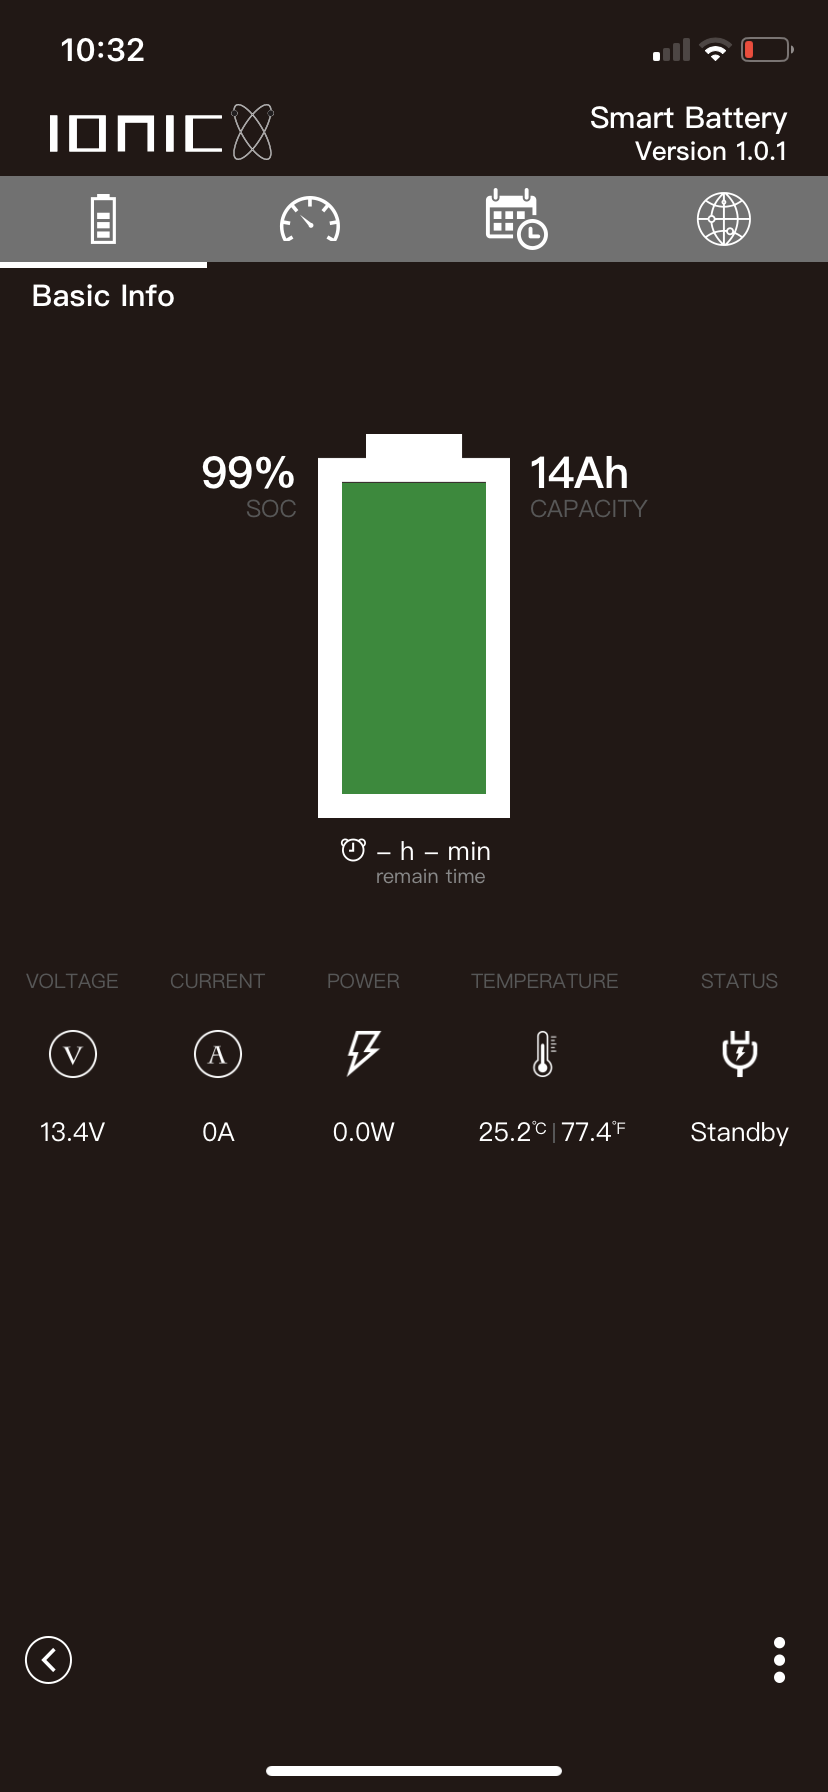
This lithium battery cost $79.00 and works with the existing Hobie charger. At the price of just $9 more than the Hobie replacement battery and a 5 year warranty, it was a no brainer. I hope this helps anyone out there looking to replace or upgrade their existing Hobie battery kit.
Link to the battery:
https://lithiumhub.com/product/12-volt-12ah-battery/
The solution: Buy a bigger battery! But the downside is you would have to carry the additional weight. So even better, buy a Lithium Iron Phosphate LiFePO4. Not only lighter but they dont mind being completely discharged!
Time to salvage the cover and connector using a flat blade:
Great job Hobie!
Now lets clean up those wires and remove the plastic covers so we can use them on the new battery:
Use a good flexible glue for the connectors and lets fill up those covers:
Make sure the opening is completely sealed off to prevent corrosion and then clean off any excess:
Finally let the glue dry for 24hrs and install in the existing Hobie tray.
I opted for the 12AH to give myself ample time to enjoy using my Fishfinder. Its wider so it wont snap into place but nothing a bungee cord cant fix.
Another added benefit is that lithium batterys can be mounted on its side if you want to avoid the wires being pulled by the battery tray:
Here are the specs from the battery app and the voltage from the Fishfinder:
This lithium battery cost $79.00 and works with the existing Hobie charger. At the price of just $9 more than the Hobie replacement battery and a 5 year warranty, it was a no brainer. I hope this helps anyone out there looking to replace or upgrade their existing Hobie battery kit.
Link to the battery:
https://lithiumhub.com/product/12-volt-12ah-battery/
 . Now here is my dilemma:

 she eventually gave me her Fish and Game jacket and was cool with me assisting her with checking other boats for data. Very beneficial because I immediately knew where everyone was hooking up. Striper and Halibut was extremely slow in the Bay except for 4 Leopard Sharks ranging between 40-50 inches. All the action seems to be out of the gates from Bonita Cove to Duxbery Reef. Lingcods all above 30 inches and 4 salmon off of duxbery reef in 50ft of water.